Red, White, and Blue Shortbread Cookies

Anyone from the Chicagoland area remember the Ray Raynor Show? It was a delightful show for children way back when, And it had valuable lessons.

My favorite memories are of his cooking a Thanksgiving turkey and when he showed craft projects for the kids. What made it so special? And hilarious? He always managed to mess up in some way. He would start off with a golden brown turkey or a pretty Mother’s Day craft. And whether it was trying to stuff the turkey upside down or adding too much glue to the craft project and ending up with a gooey mess, he entertained and gave good messages.

One might think at first glance “what is the lesson in that?”

He allowed children to be children. To let them know that it’s okay if something doesn’t come out just “perfect”. He got down to their level. It seemed to me to be a show for adults as well as the children.

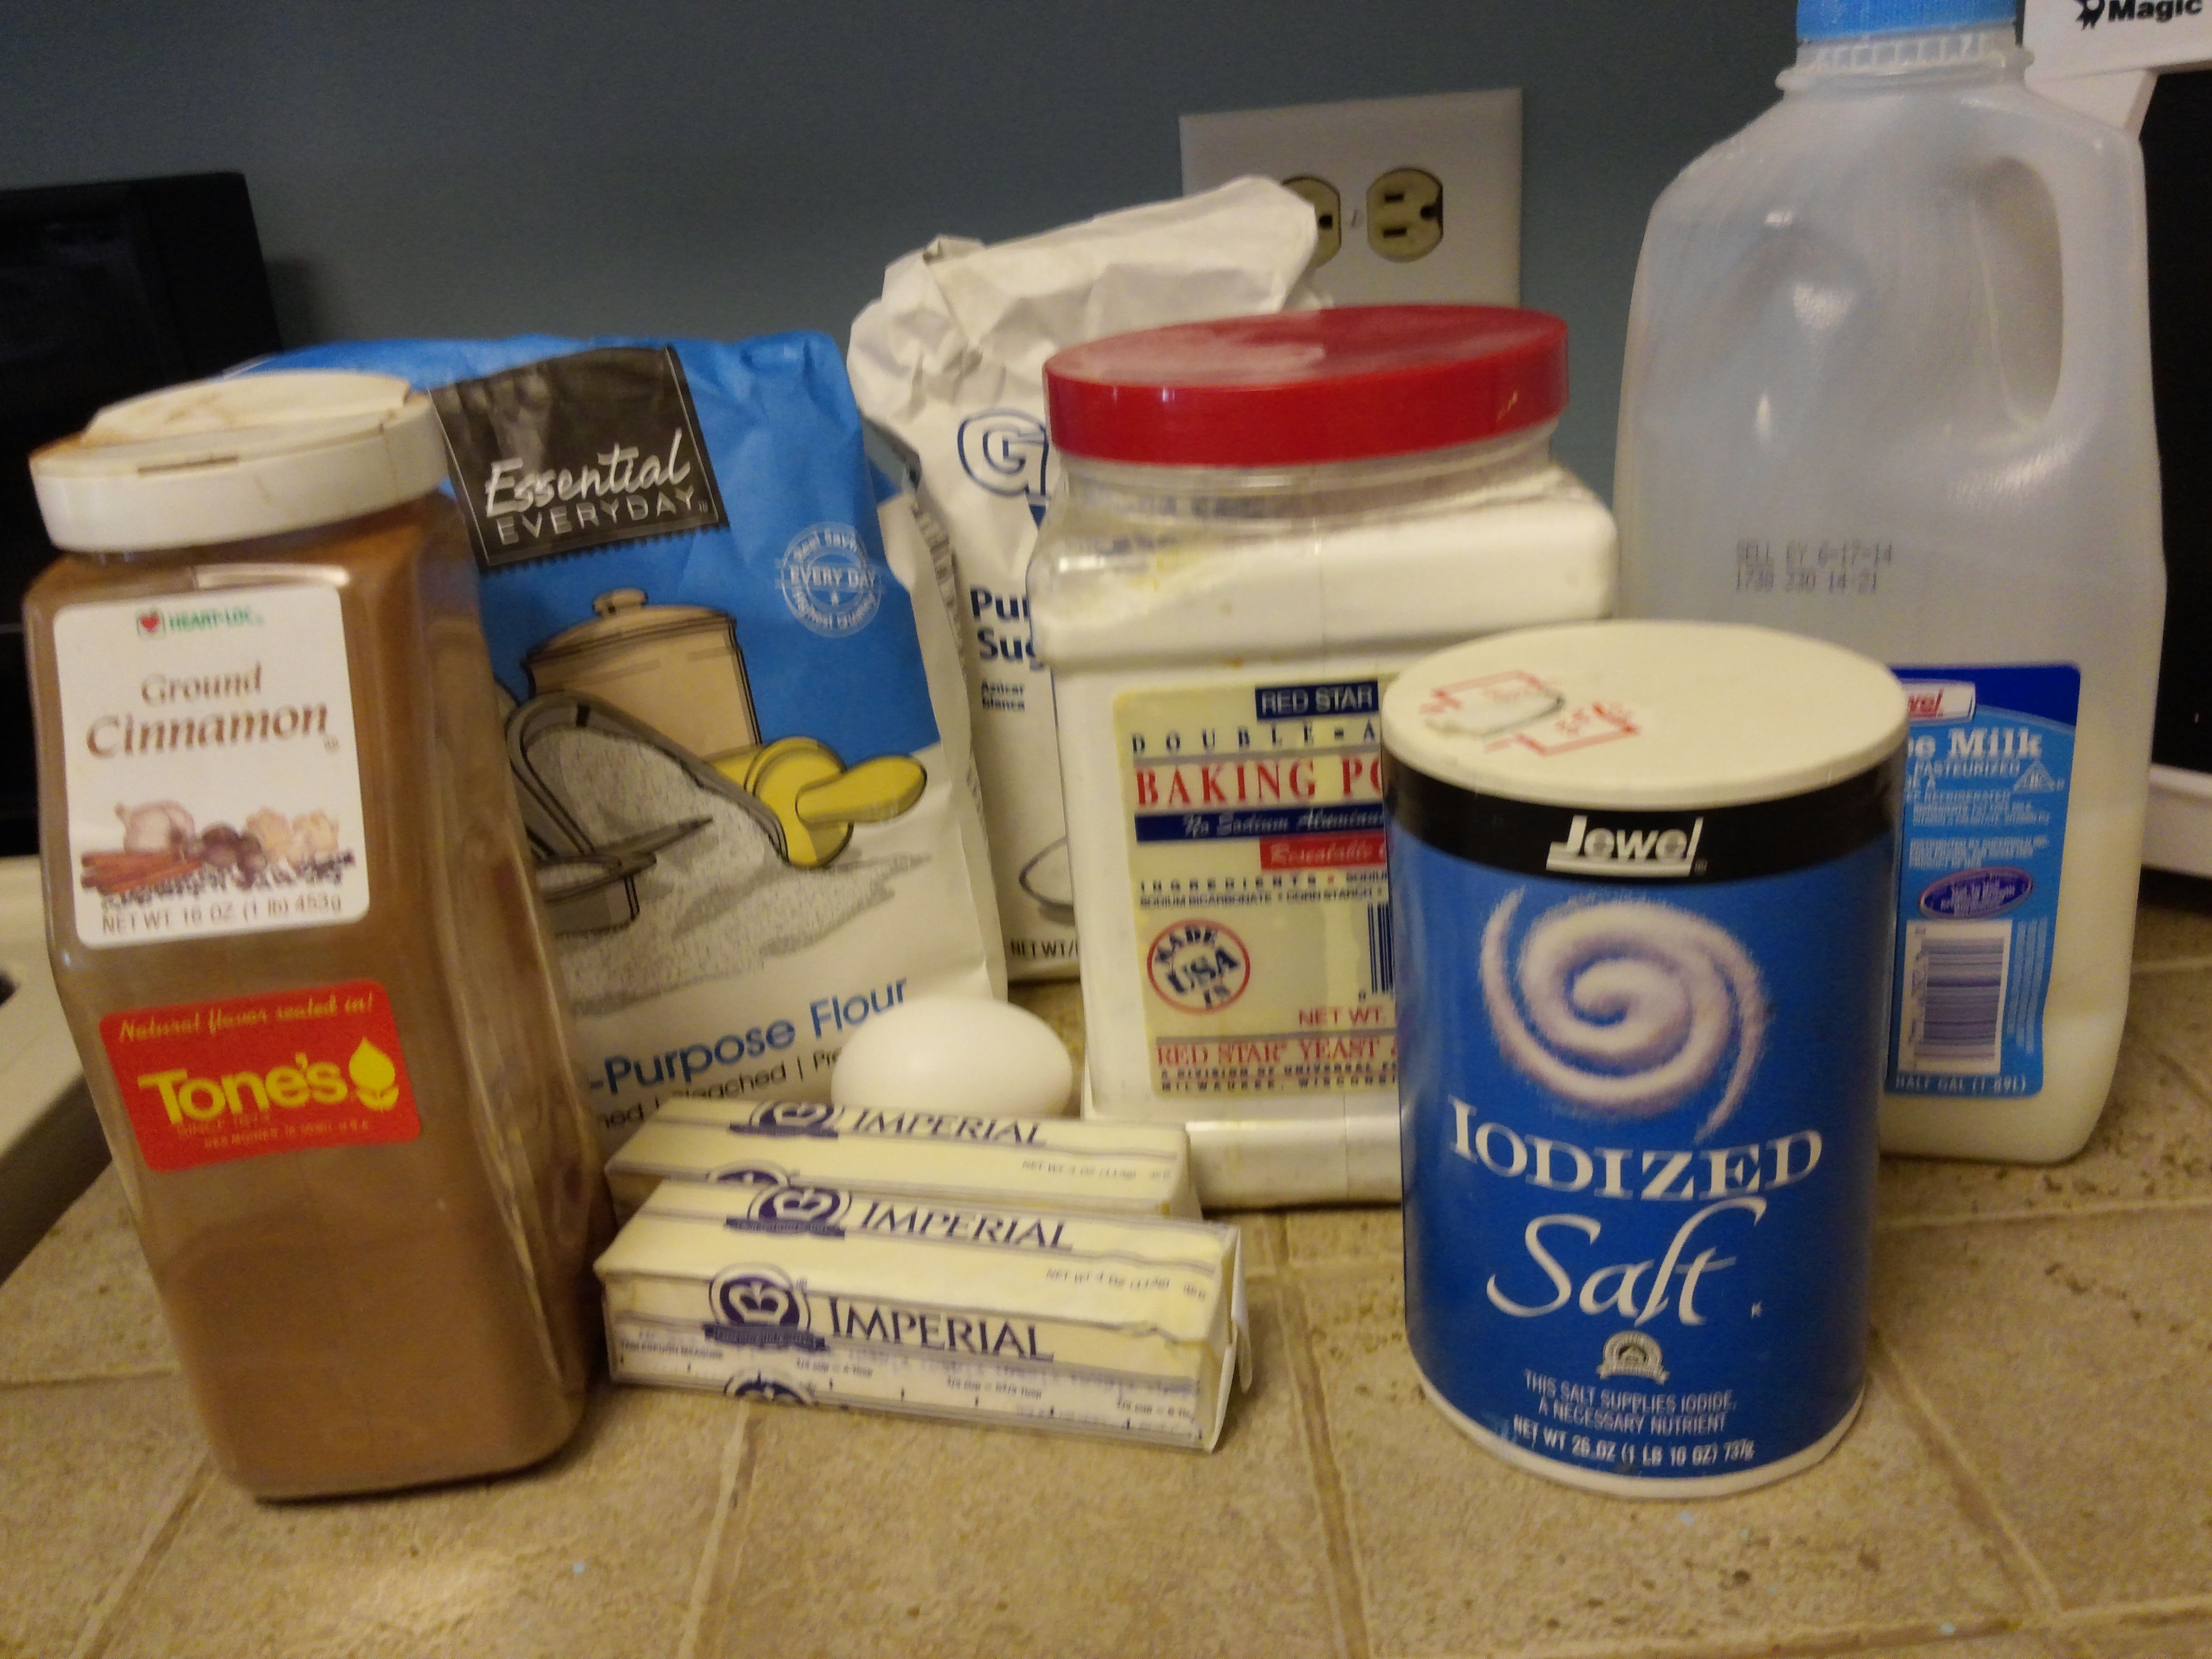
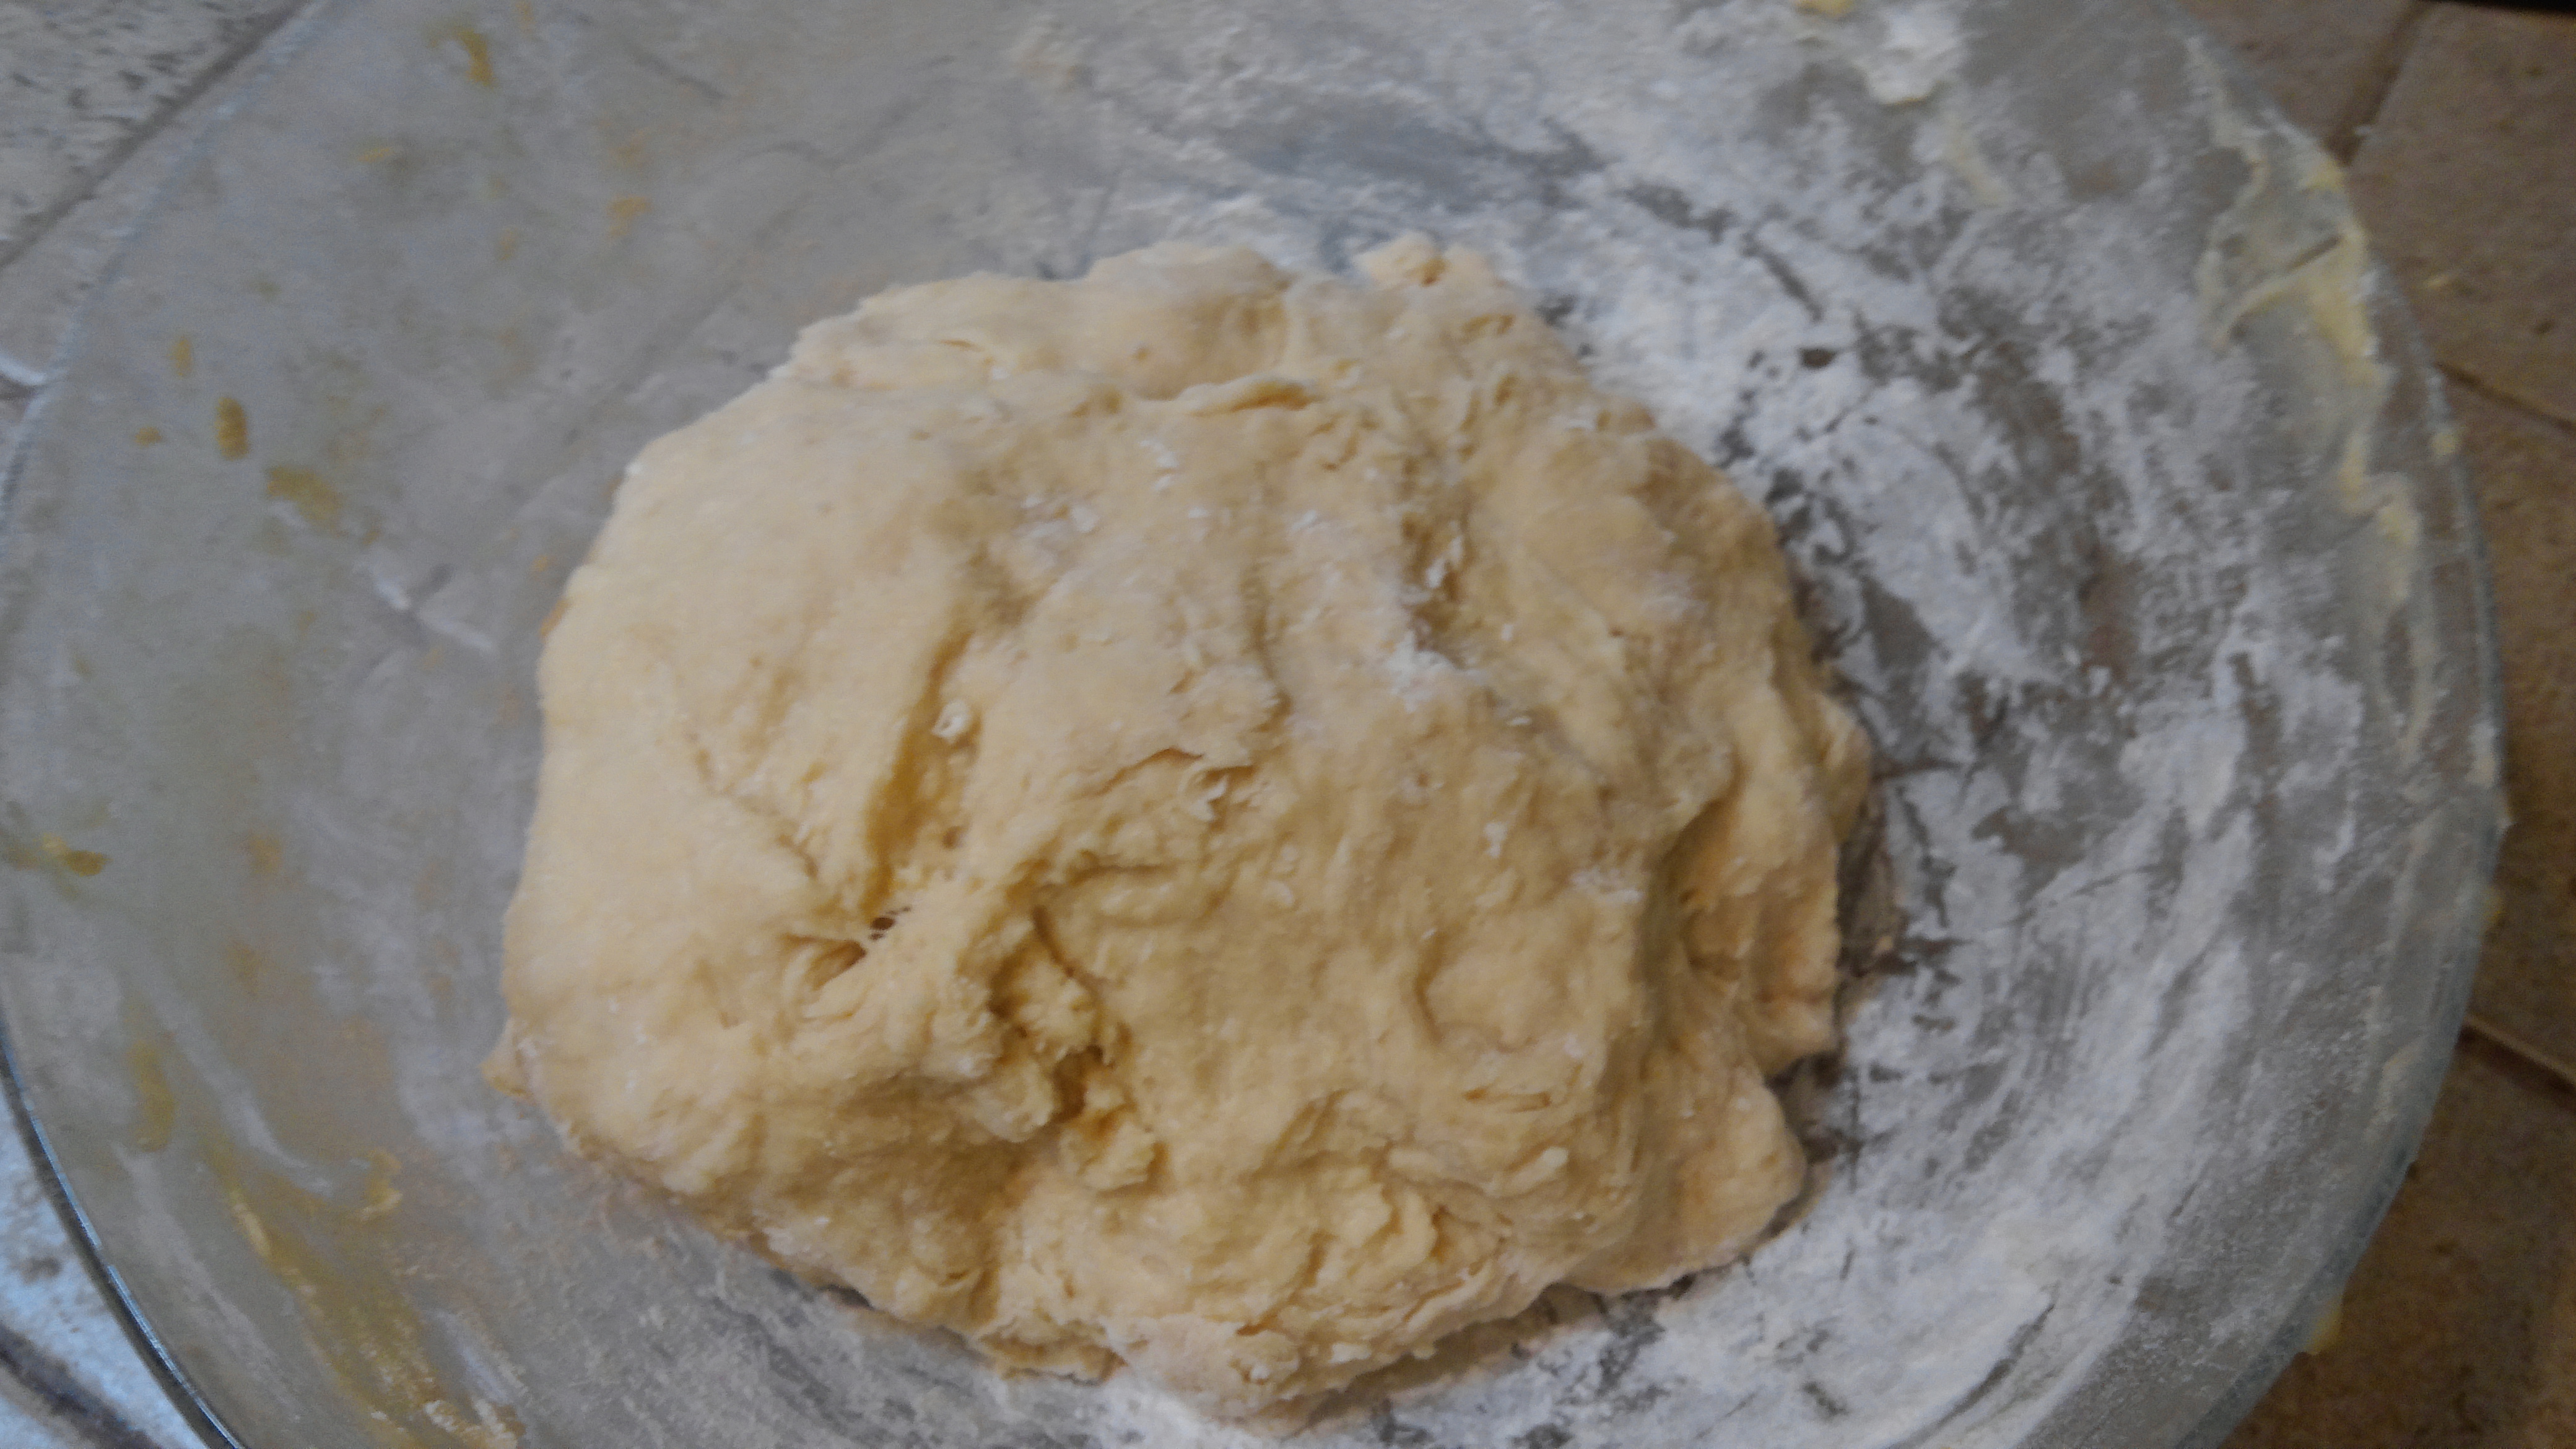
What does that have to do with Red, White, and Blue Shortbread Cookies? Well, I thought of the Ray Raynor show several times while making the cookies. I just kept running into snags. They were delicious but the recipe didn’t exactly cooperate. Partly my fault.

It called for an 8×8 square glass pan. I didn’t have one so I increased the recipe by half again and put it in an 8×11 glass pan. The only real problem with that actually is the rounded corners. The cookies weren’t exactly squared off.

I was short 1/4C sugar so I added some Equal. That was no big deal.

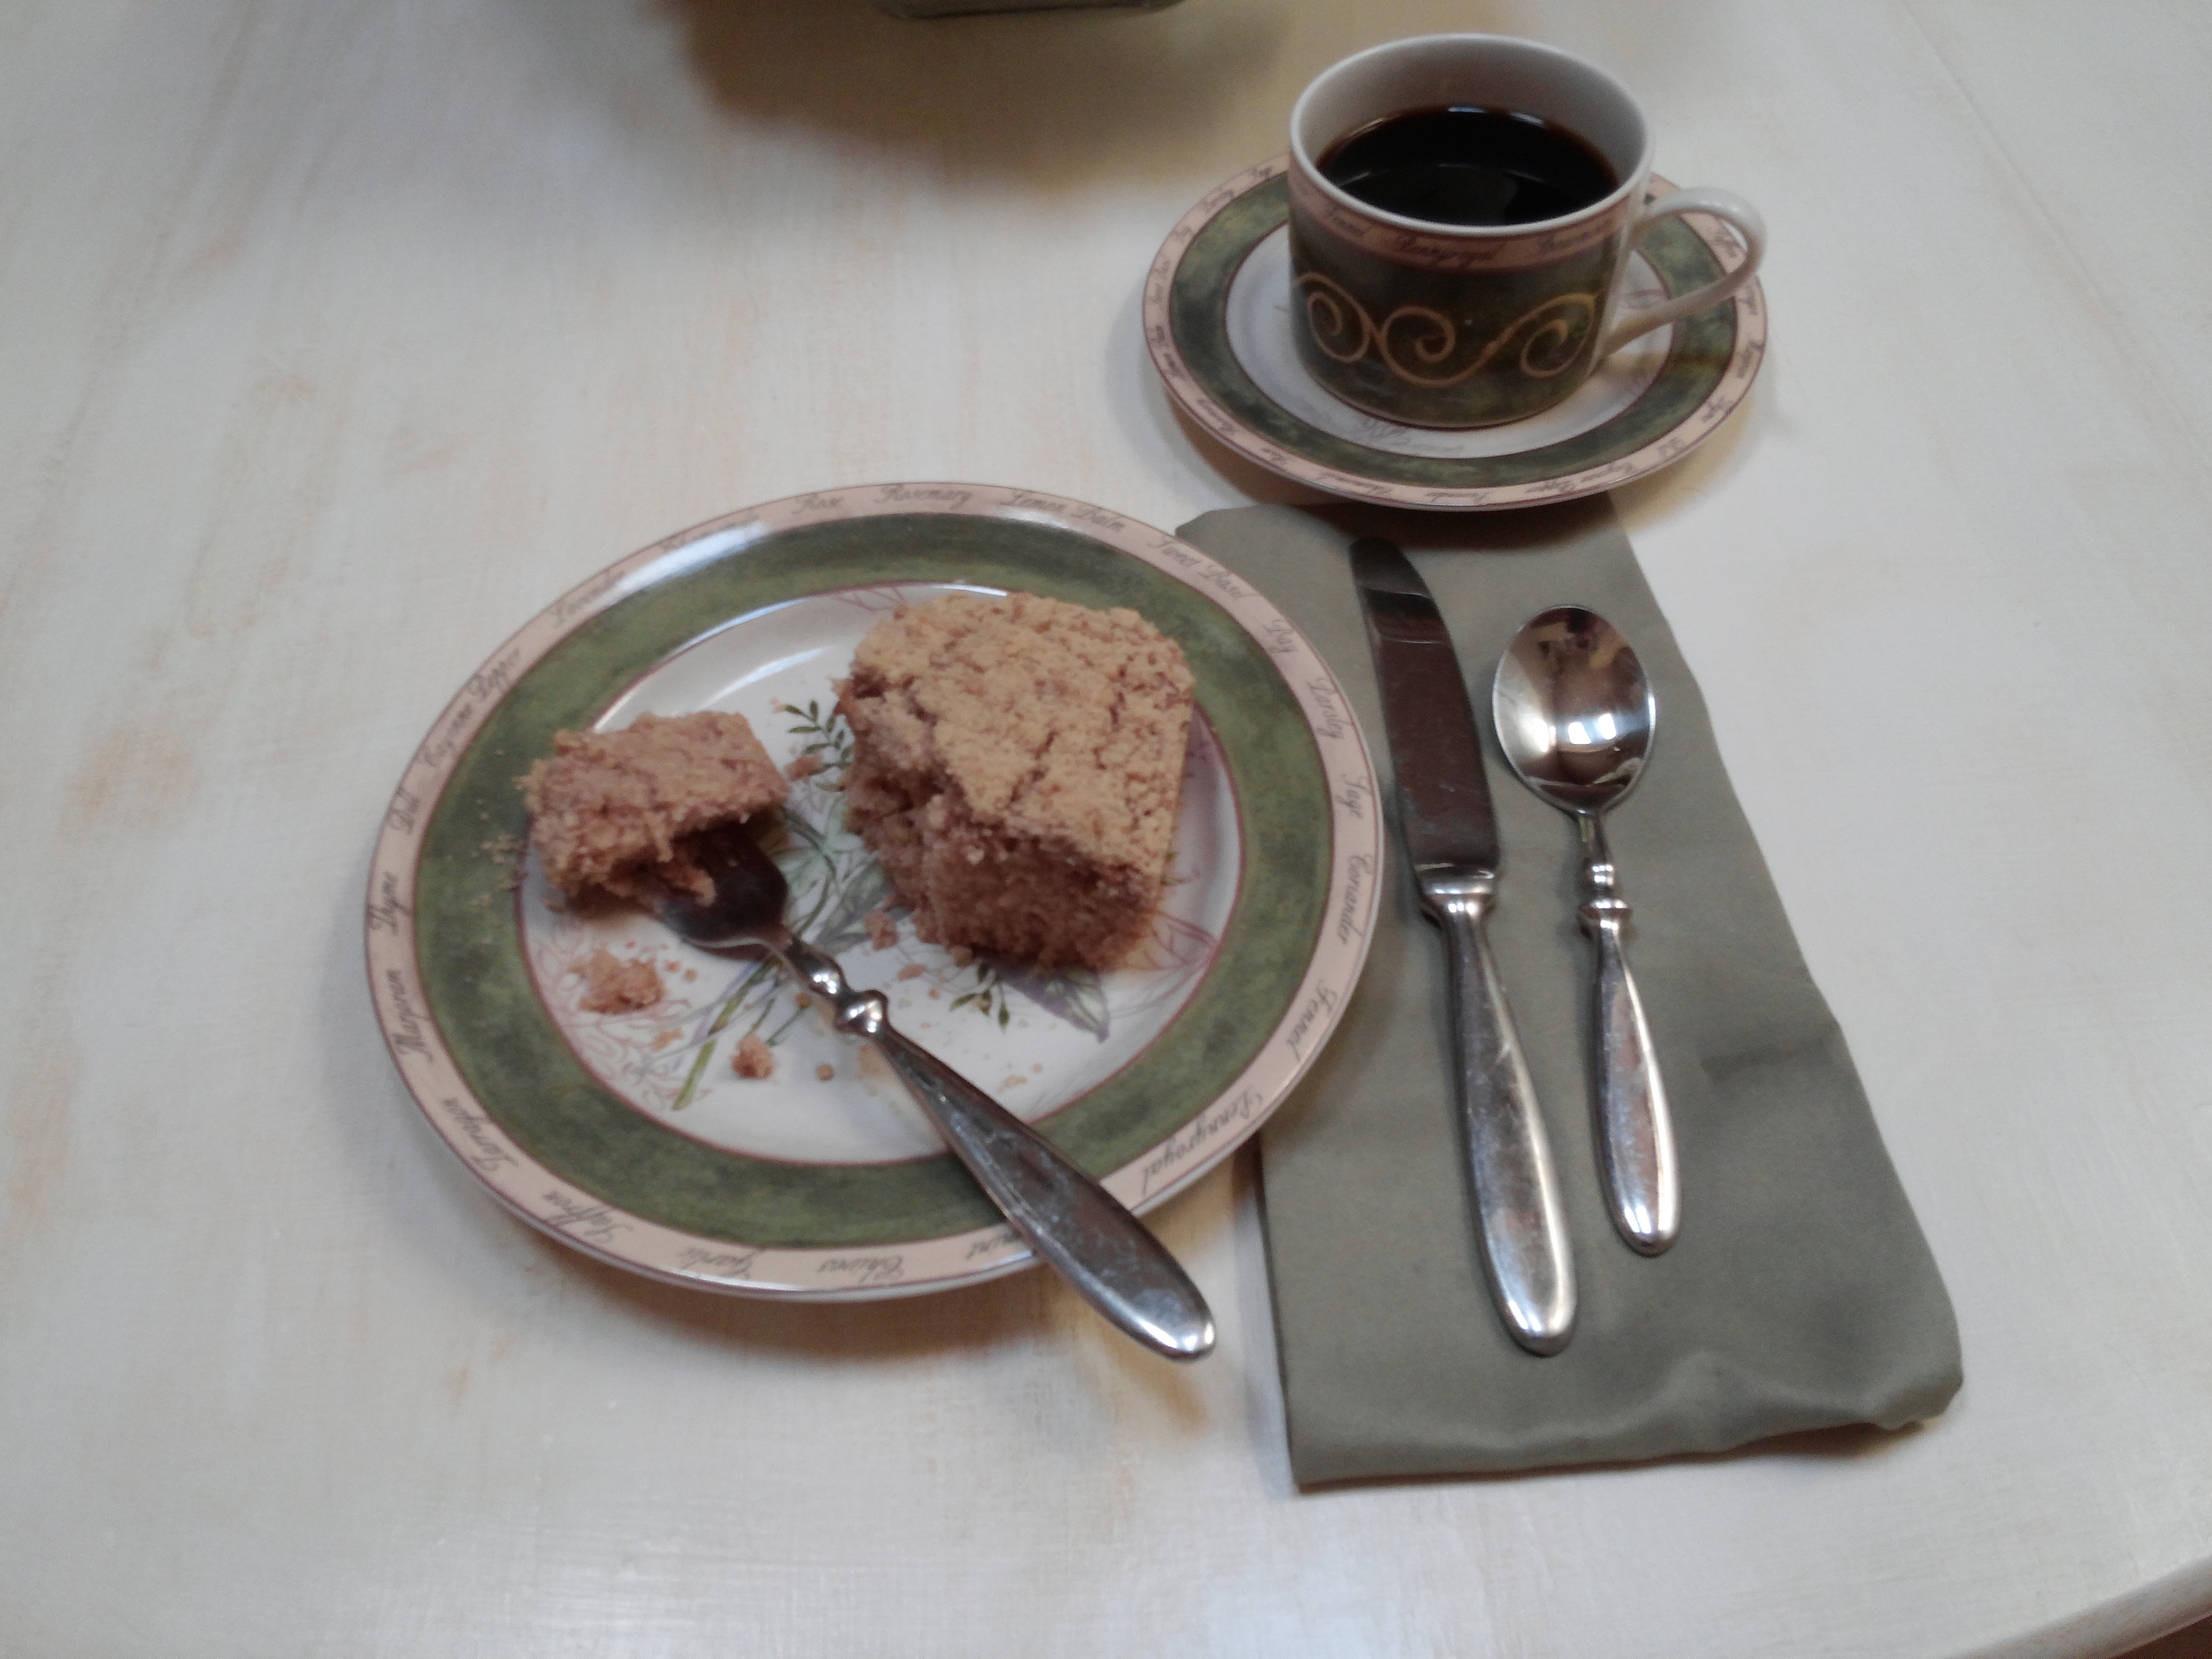
They baked well. It took a little longer, of course, because of the change in pans and quantity of the dough, but that was okay too.

Then it came to the dipping the cookies in the chocolate and adding the sprinkles. It’s possible I bought the wrong chocolate, although none of the chocolate was listed as dipping chocolate. At any rate, I had a mess, I had chocolate dripping everywhere and so when I needed to add the sprinkles before the chocolate hardened, I ended up with sprinkles everywhere as well.

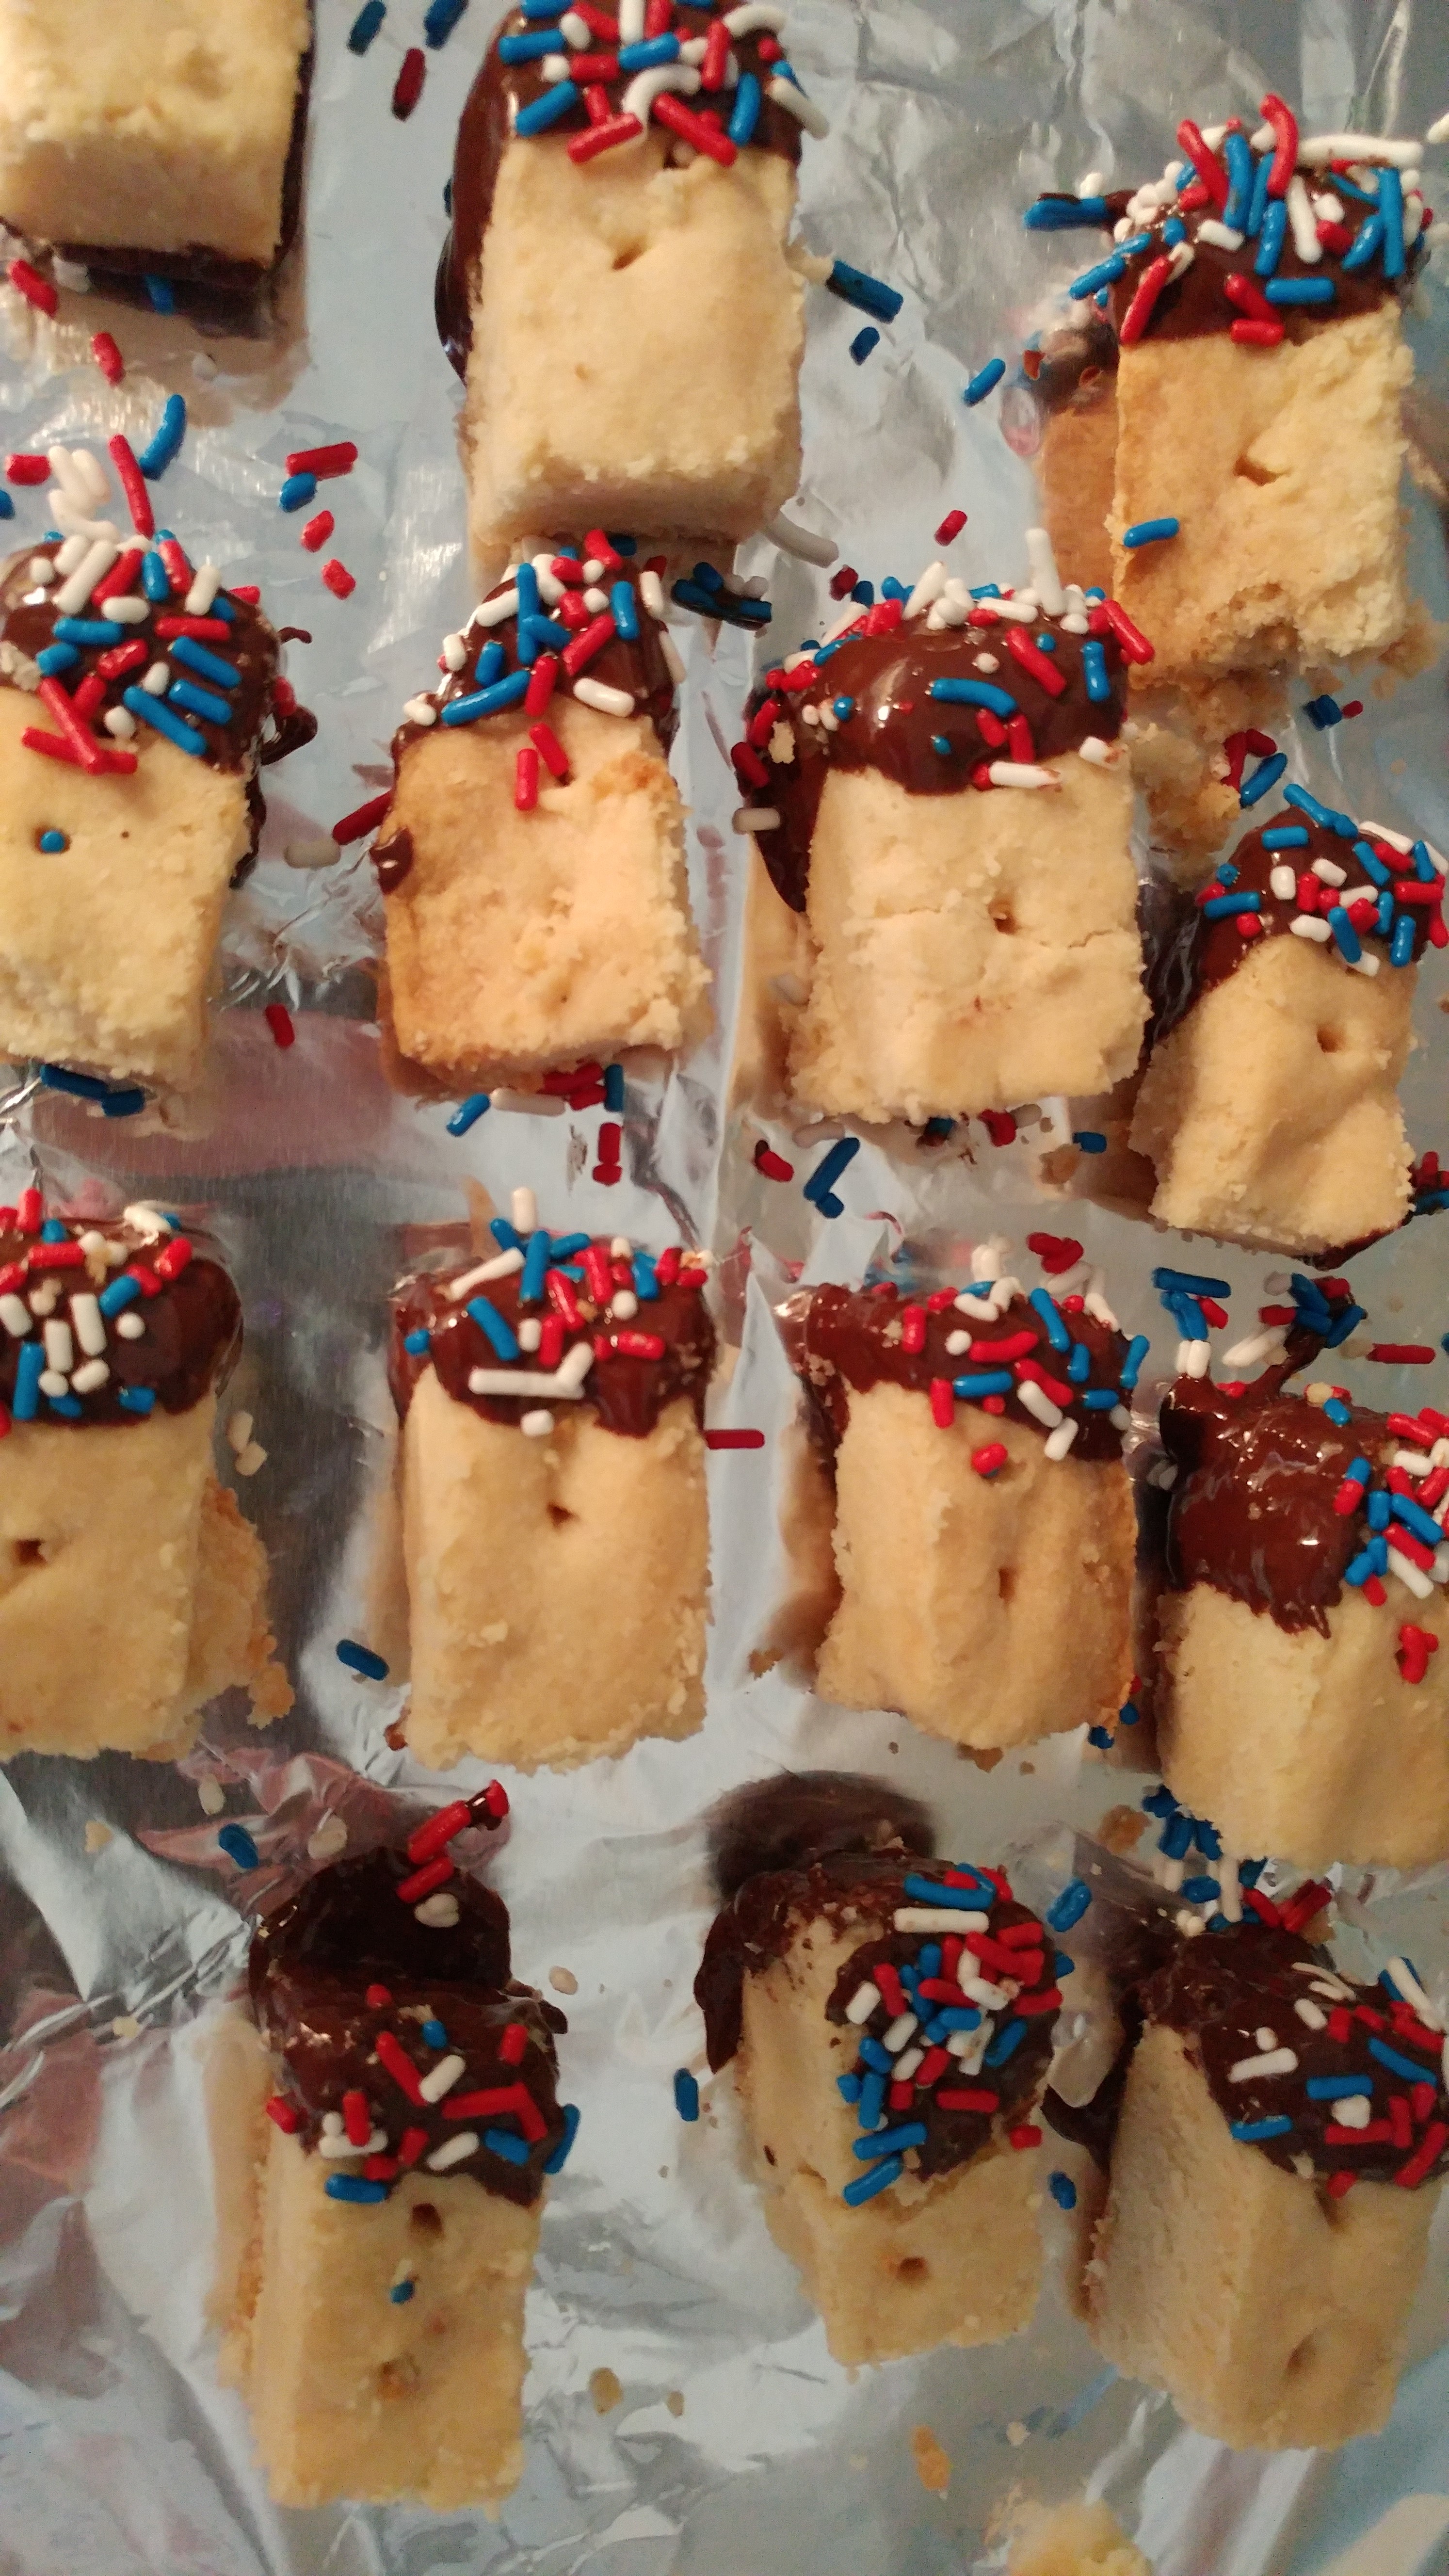
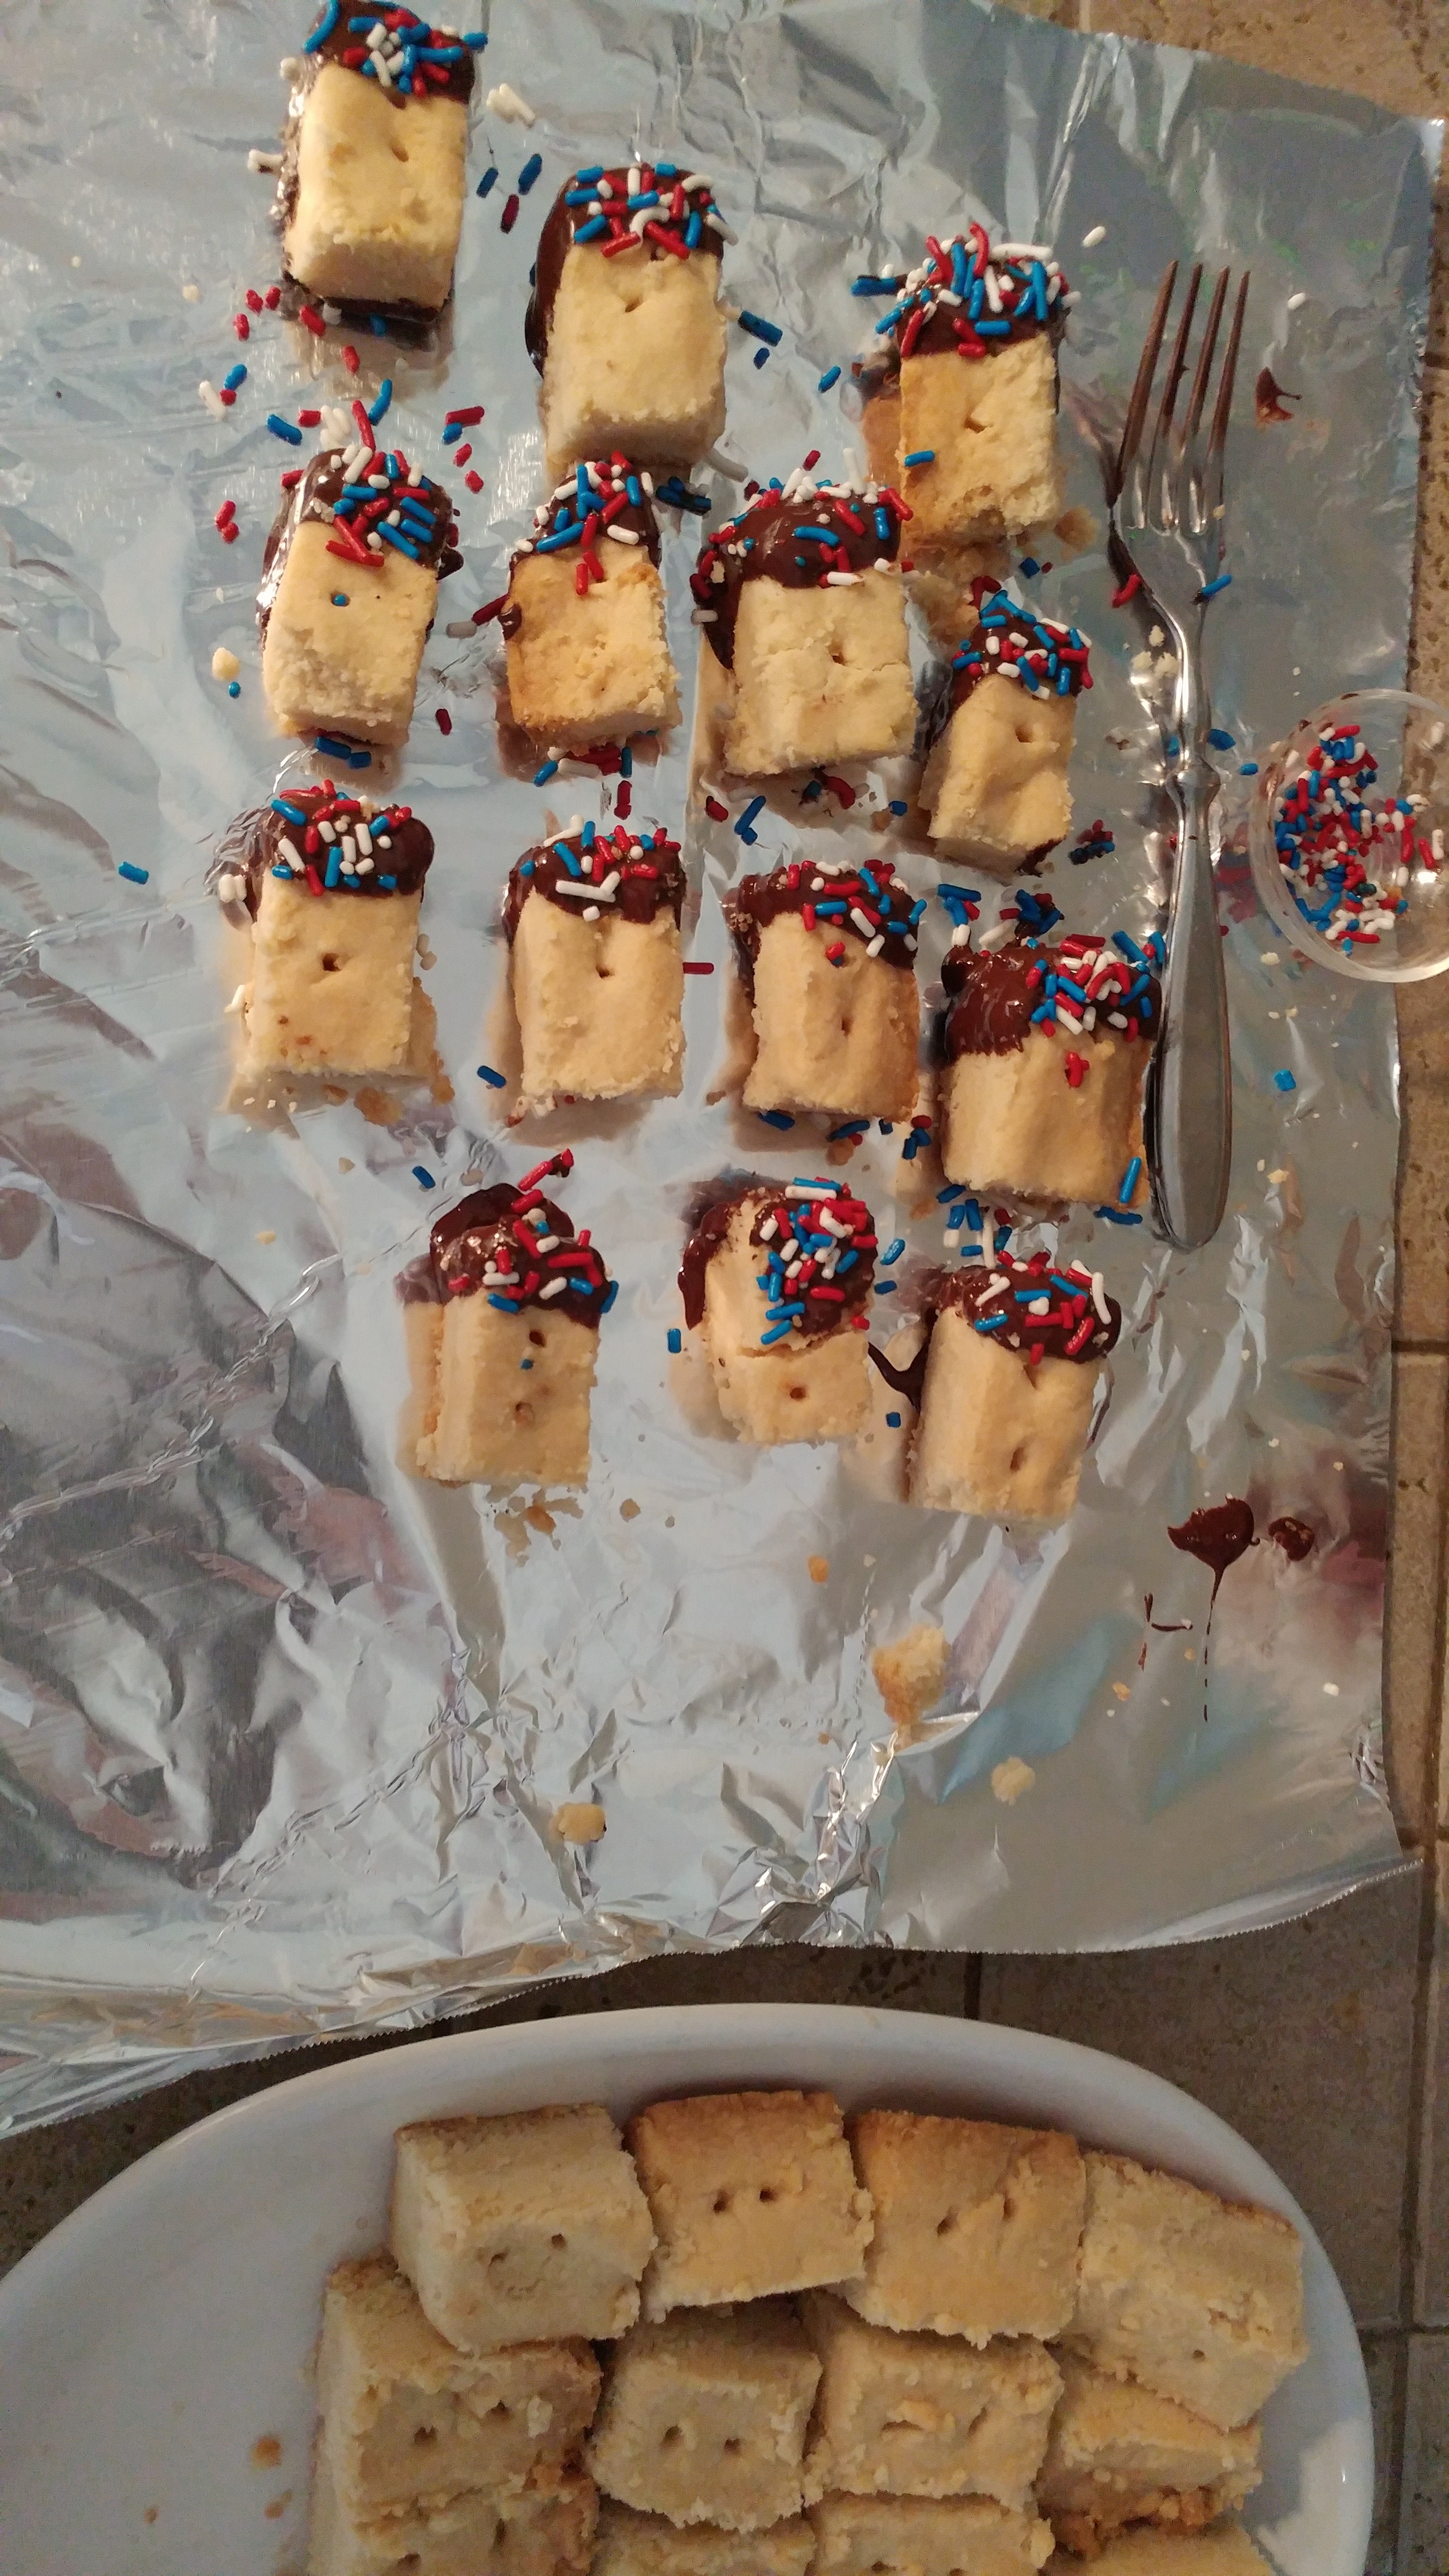
I had to chuckle and thought of Ray Raynor. Thank you Ray.

I have added a link to the original cookie recipe that I found on Pinterest. I do hope you will give them a try and learn from my mistakes. And if they don’t end up “perfect” give a smile and a nod to the Ray Raynor Show.

Have a great week!
Doris

The Best Ever Chicken and Dumplings!

CAUTION! Maybe I should put a disclaimer here. This is by no means a dieting recipe. It is a good hearty meal that goes over well all year round.

Every time I have asked my son Chuck what he would like for his birthday he always says Chicken and Dumplings. And now it is passing down to my grandson.

This is a chicken meal I came up with years ago when trying to create a different (for me anyway) way to serve chicken. It remains to be one of the more economical meals to feed a family.

It’s funny, I didn’t realize how endearing this recipe is to me. I hesitated posting on it because I wasn’t sure I wanted to share it. But here we are!

Whereas in the beginning I would buy a whole chicken and cut it up myself, now I purchase breasts, legs, and a few thighs already cut up. These are the pieces that are the main favorites.

Now, unfortunately, the chicken needs to have the skin on. I have tried using skinless and boneless and it just isn’t the same. However, if you start out using boneless and skinless chicken your family may not notice the difference. The gravy will still get you in the calorie count though.

I trim off any excess fat that I can before frying the chicken. I fry it in a little vegetable oil until it is browned. Then I drain off any grease that I can.

The pan gets put back on the stove with medium heat and I add enough water until it reaches about a half inch from the top. I’m old fashioned in that I still use boullion cubes, adding 8-10 of them to the simmering chicken. Turn down the heat and let it simmer for a good 20 minutes, checking it to make sure it isn’t sticking and that the cubes are dissolving.

Also, at this time I add dry mustard. Now I know that may sound a little odd and I don’t remember what possessed me years ago to add it, but it works. It just punches up the flavor. I use a heaping tablespoon for a 12-14 inch pan’s worth. Salt and pepper also get added to taste. I also tend to add a little garlic powder here.

After checking the chicken for doneness I remove it and place it in a bowl nearby. Using a whisk, I stir the gravy to loosen anything stuck to the pan getting it ready to thicken. I use cornstarch but you can use whatever you like to create a good thick gravy. About a heaping tablespoon of cornstarch with a little water added to it first should thicken it properly. If not, repeat.

When it is good and thick add the chicken back to the pan, letting it simmer for about 10 minutes, stirring often.

It can be served from the stove or put in a large dish for the table.

The dumplings? Well, the recipe I use is one handed down to me from my childrens’ grandmother. She played an important role in my life. I would need to ask her family if it would be okay to broadcast her recipe. Any good dumpling recipe will work. Or mashed potatoes. Also, something that I have begun to use for another dish is frozen egg noodles. When cooked they taste similar to dumplings and are very much like homemade noodles.

Enjoy!
D.

Old Apple Cake Recipe

This is an old apple cake recipe. Not a cake made from old apples, but a recipe that I have had for a very long time. Not really sure where I got it. I think it was some time around the time that I was a member of the West Chicago Mothers’ Club. I usually make it about once a year. It is not exactly a quick recipe but is so worth the time. It doesn’t take forever, it’s just that I am not a fan of peeling and chopping apples. But it is the thought of the results that make it worthwhile.

Allphotos 543

Apple Cake

2C flour
2tsp baking soda
2tsp cinnamon
1tsp salt
2C sugar
1C shortening…(if using oil add last)
4eggs
2tsp vanilla
5C chopped apples (tart)
Allphotos 544

1C chopped walnuts/optional

Cream sugar, shortening, & eggs (one at a time). Add rest of ingredients.
Allphotos 546

Pour into greased and floured 9×13 pan.
Allphotos 548

Bake at 350 degrees for 50 minutes.
Allphotos 549
Allphotos 550

(Want a little decadence? Have a scoop of vanilla ice cream next to a warm slice of cake. Yum!)

As far as the apples go I usually buy whatever tart ones that happen to be on sale. How many make up 5cups? It varies depending on the size of the apples of course. I tend to buy a bag of them.

Sound easy enough? It really is. Just a little time consuming, chopping apples and all.
Every year at this time I get the urge to make Apple Cake.

It’s Fall again! Time for beautiful colors, cool mornings, and crisp apples.

Oh, yes, and a bit of news! My application to take part in the Morris Three French Hens Market on October 11th has been approved. Another great market to get ready for!

Have a great day everyone!
Doris

New Project and Oatmeal Cake

Hello there!

I am combining some bits of 2 posts. The first one is a project I am working on for an upcoming market show. This is just a before photo of some of the pieces that I am working on. I am focussing on small pieces of furniture for the market. Also I am having a carpenter friend make up some of the wooden cornices that I have worked on and paint them in a couple of different styles. This is going to be fun and I am especially looking forward to presenting the cornices. I will be posting about them off and on as the work progresses. Fun! Fun! Fun!
smtablesoatcake 003

The second part is that of a cake I got from the blog onsuttonplace.com. It is Oatmeal Cake, and if you would like the recipe and to see more photos of it, I recommend visiting her blog for that. What I will tell you thought is that it is delicious and very easy to make. If you are like me in that you usually having oatmeal on hand then you most likely will have all of the ingredient in your cupboard already. The taste kind of reminds me of an apple cake that I make from time to time that is a bit time consuming. This is a nice alternative!
smtablesoatcake 004

Summer is winding down around here. My grandson actually starts back to school next week already!

Hope you have a good week!
Doris

Chicken Fajitas

Want a quick and easy fajita recipe? I should mention delicious too! Then this is one for you! I don’t remember where I got this recipe from and I have made my own adjustments along the way, but it is definitely a keeper!

Chicken Fajitas

1lb boneless chicken breast, cut into strips
2T vegetable oil
2tsp chili powder
1 1/2tsp cumin (I don’t add this)
1/2 tsp garlic powder
1/2 tsp dried oregano
1/4tsp seasoned salt (I use regular)
1 (15oz) can diced tomatoes with green chilis (Rotel), well drained
1 medium onion, sliced
1/2 red bell pepper
1/2 green bell pepper

ornamhydrangchfajitas 009

400 degree oven.
Place chicken strips in a greased 13×9 baking dish.
ornamhydrangchfajitas 012
In a small bowl combine oil, chili powder, cumin, garlic powder, dried oregano, and salt. Drizzle the spice mixture over the chicken and stir to coat.
ornamhydrangchfajitas 011
ornamhydrangchfajitas 014

Slice peppers and onions and drain tomatoes. I was using things up so this time I used a half of yellow and orange pepper instead of the red and green. Also, you will notice in the picture that I used 2 kinds of onion, not necessary to do this.
ornamhydrangchfajitas 015

Add the tomatoes, peppers, and onions to the mix and stir to combine.
ornamhydrangchfajitas 016

Bake, uncovered, for 20-25 minutes or until chicken is cooked through and the vegetables are tender.
ornamhydrangchfajitas 017
ENJOY!

Have a great weekend everyone!
Doris

P.S. I am thinking that tofu could be easily substitued for the chicken in this recipe. What do you think?

I am also thinking that they could work quite well in the homemade pitas that my niece makes. Yum!

Alice Adams Tea Cake

A Father’s Day treat, one of my mother’s treats…….call it what you will, this quick and easy little coffee cake really hits the spot. One of the best things about it is that it uses ingredients that you most likely already have in your kitchen.

Alice Adams Tea Cake
tableteacake 014

3/4C sugar
1/2C (1 stick) softened butter
1 1/2C flour
1 1/2 tsp salt
1 beaten egg
1/2C milk, room temperature
cinnamon to taste

Mix first 4 ingredients plus cinnamon (I find about a level teaspoon is a good amount). Save 1/3 for the topping.
tableteacake 015

To the remaining amount add the egg and milk. Beat until smooth. Pour into a square or round pan. Sprinkle the topping over it.
tableteacake 016

Bake at 350 degrees for about 20 minutes.
tableteacake 019
tableteacake 020

I usually double the recipe and put it in an 8×11 pan. Of course, it will need to bake a little longer.

Enjoy!

And a Happy Father’s Day!
Doris

A Mother’s Day Treat

Happy Mother’s Day!

I follow the blog On Sutton Place. Ann Drake who writes it is quite an inspiration and she gave me permission to post one of her recipes. It is called Sour Cream Shortcake Bisquits. Not only is it delicious, it is quite delectable looking, and you probably have almost all of the ingredients on hand already. The only thing that you may need to purchase is sour cream.

Sour Cream Shortcake Bisquits

Ingredients
shortcakebisquits 033
2C Flour
1tsp Baking Powder
1/2tsp Baking Soda
1/4tsp Salt
1/4C Sugar
4T Butter, chilled
1C Sour Cream
1/4C Milk

Preheat oven to 425 degrees.

In a large bowl whisk together the flour, baking powder,baking soda. salt, and sugar.

Cut in the butter with a pastry blender. (or if you don’t have a pastry blender you can do as I did, cut it in by using 2 knives. Tha’s the old fashioned way).

Stir in the sour cream and milk.
shortcakebisquits 034
It should look “shaggy” at this point.

Spread it out on a cookie sheet until it is one inch thick. Sprinkle with sugar.
shortcakebisquits 035
Bake for 12-15 minutes, watching it closely near the end. You want the edges to be lightly browned.
shortcakebisquits 037
Cool slightly.
Cut into bisquits. You may have a bisquit ciutter. I used a glass. You can also serve it rustic by just breaking it into bits. it tastes great no matter what!
shortcakebisquits 038
Spread strawberries over a bisquit and serve!
shortcakebisquits 040
You may want to add a dollop of whipped cream. Also, I add some sweetener to the strawberries after I cut them up and let them set a bit.

I hope you all have a wonderful day today!
Doris

Veggie Soup

It is cold and rainy here today. Sounds like a good day for a bowl of soup!

This is my version of an all time favorite of mine, the “free” soup from Weightwatchers. Years ago I started making this soup. My version is a little jazzed up and not exactly “free” because I choose to add a bean like cannelini or as today, butter beans. But really though, that is important only if you are in Weightwatchers. I would rather have it be a little more substantial. I also serve it with a hearty bread.

Another great thing about this soup is that it is pretty much fat free. The only fat is in the butter beans I used and that is really negligible. So…..

Veggie Soup
beanandveggiesoup 016
beanandveggiesoup 017

Chopped carrots
Onion
Garlic
Using non stick spray, in a large saucepan heat the first three ingredients until softened. About 5-7 minutes. You will see from the photo that I use the baby carrots to cut and chopped garlic in a jar.
beanandveggiesoup 018

Beef Boulllion or beef broth(you could use vegetable bullion or broth for vegetarians)
Cole Slaw mix
Green beans
Tomato paste
Butter beans
Basil
Oregano
Salt (optional)
Water if using boullion
Add all of these to the softened mix and bring to a boil. Simmer for about 15 minutes or until the green beans are softened.
beanandveggiesoup 020

Zucchini, cut into 1 inch pieces
Add this to the mix and heat for a few minutes.
finalveggiesoup 001

It is ready to serve!
finalveggiesoup 002
finalveggiesoup 003

How easy is that?
I know, I know, I didn’t give exact measurements. I literally just throw this together and taste it often to see what may be needed. I know I at least double the Weightwatcher recipe. Especially with the Basil and Oregano.

Hope everyone has been having a good week!
Doris

Grandma’s Danish Pastry

I don’t know why my mother called this Danish Pastry in the recipe, I always knew them as Mom’s Sweet Rolls. At any rate, they have always been a favorite. In my younger days I would make these every Christmas and it wouldn’t take long and they were gone. They are delicious and not necessarily too sweet. You can adjust that easily.

Danish Pastry
Mom's Danish 002

1pkg dry yeast
¼ C warm water

Dissolve yeast in water.

1/3 C sugar
1/2tsp salt
1 stick butter or margarine
1C scalded milk
Mom's Danish 003
2 eggs
1/2tsp vanilla
3C flour (aprox)
Mom's Danish 005
Mom's Danish 006

Pour hot scalded milk over butter, sugar, and salt. Cool to lukewarm. Beat in 2 eggs with a beater. Add vanilla and yeast mixture. Stir in flour gradually to make a soft dough. It should be easy to handle. Let rise in a covered bowl until double in size. Roll out and cut as desired. Place on a greased and floured pan. Let rise again.

Bake at 400 degrees for 10-12 minutes. Or a tea ring would bake for 25 minutes.

Roll the dough into a somewhat square shape.
mom'sdanish2 002

For sweet rolls, cut strips about ¾-1” wide. Twist the strip while you wind the roll into a ‘coil’. Add a teaspoon of jam or jelly to the top. After cool drizzle with powdered sugar mixed with milk.
mom'sdanish2 003
mom'sdanish2 004
mom'sdanish2 005

For a tea ring, after rolling out spread softened (maybe melted) butter onto the shape and sprinkle cinnamon sugar (raisins are opt) over it. Roll up the dough, being careful of the filling. Place the roll in a circle shape. With a knife, cut slices about 1” wide. Twist the slices into an angle. After baking and cooling, drizzle powdered sugar mixed with milk over the ring.

I hope you find these as delectable as our family has over the years.
Have a great holiday weekend!
Doris

Quinoa Mexican Dish

Have you tried quinoa yet? If not you may want to. It is an excellent source of nutrients and quite tasty. I came across a recipe on pinterest for it but I played with it and doctored it up a bit to suit my taste.
quinoa 001

Quinoa comes in bags the way rice does. It’s not exactly like rice but it is a grain and it has a mild flavor the way that rice does. It is at a good price for something this healthy for you. It cooks up about the same way that rice does too.

So after some thought these are the ingredients that I used and I think it’s delicious.

Quinoa (I make a cup (dry) when I make it)
Cilantro
Onion, chopped
Red pepper, chopped
Cheddar cheese (mild or sharp, whichever you prefer), shredded
One can of corn, drained
One can of black beans, rinsed and drained
Cayenne pepper

This basically gets layered in either a large bowl for several people, or, as I do, I make it into an individual bowl.

After cooking the quinoa according to the package directions, add a little chopped cilantro to it. Tip: I use my kitchen shears and just kind of trim off pieces.
quinoa 002

Begine layering. I started with the cheddar cheese. Next you add the onion and the red pepper. You will notice from the photo I kind of split the bowl in half. You don’t have to, I thought it looked prettier.
quinoa 003
The cheese may start to melt as soon as it is layered on the quinoa.

Next thing is to heat up the black beans and the corn (separately).This is what I layer, again, splitting the bowl in half.

Sprinkle a little cayenne pepper on the top and it is ready to enjoy! Simple right?
quinoa 004

Isn’t it colorful?

I know, I know, I didn’t give exact measurements. Just give it a try and adjust to you or your family’s taste (especially with the onion and the cayenne pepper).

I really don’t know where this week went. This afternoon I am back to painting chairs. I woulod really like to have them done this weekend.

Have an enjoyable weekend. It’s suppose to be beautiful here.
Doris