Knitting Update

Just a quick update on where I’m at with knitting these days.

The sweater that I was working on out of the textured yarn is completed. The pattern itself was relativity easy to follow. The yarn was great to work with. Size wise it feels a little big, but I can’t honestly say I would want it any smaller. This is what it looks like on:

I am finishing up a sweater I started some time ago. It kind of makes me chuckle actually. When I picked up my knitting needles a few years ago, realizing that I could read and easily understand a pattern, I started browsing through the myriad of patterns for free and for sale online. It didn’t take me long to decide I wanted to make a sweater. And that is with only having a scarf under my belt!. I started it and actually was making some progress when I ran into a rough spot. I felt a little overwhelmed by it so I set the whole thing aside. A couple of weeks ago I picked it up again and am chipping away at it. It’s not all that difficult but there is a lot to it so it takes awhile. This is where I’m at with it:

I have decided though that on June 1st I will put this project aside. (well I might pick it up now and again). I need to do this because I have items to work on in order to be ready for fall shows. I look forward to that!

Oh, yes, I have also started a pair of socks. I am doing them with what is called Magic Loop. I love the concept now if I have the patience for something on a smaller scale. I did attempt this in the beginning. I completed one only to not be able to match up the second one. I have since learned a solution to that. I’ll post on that when they are complete.

Have a good day!
Doris

How To Hire A Painter

I have had my business of Decorative Artwork since 1992. Over the course of those years I have worked with many painters from different areas. The majority of the time things went well for the client. And for myself as well. But, I have run across some disasters too. Here are some tips for hiring the right painter for your project.

#1…..Get References! Don’t expect a quote over the phone. And for big projects, hopefully you could actually see some of their work. Here’s an example of what could go wrong. –
I had a client a few years back that needed their 2 story family room painted. It needed some patching and in some areas on the ceiling there needed to be drywall tape replaced. My client got the name of a painter from someone she didn’t know but she told me the guy was excited about the job and didn’t mind working on scaffolding. I finished my decorative painting before the painter and his buddy were done. But I had to go back the next day to be paid. When I went back my client was almost in tears. The painters had “finished” and they had been paid. Well, she brings me in to show me what they had done to her family room ceiling. They had used blue painters tape instead of drywall tape to fix the areas that needed it! And the tape was starting to peel off. She had called the painter to discuss it with him only to find out he had left town.
That is the worst I have seen. Most painters are reputable and trustworthy. But…..
Get References!

#2…..When you do find a painter you can trust, if they say they need a deposit, give it to them. After the economic downturn I’ve known contractors that just don’t want to run a tab at the paint store anymore. Probably holds true for many trades.

#3…..I think this may be as important as #1. Let them do their job. Don’t be underfoot and try to keep children busy with other things.

#4…..Pay promptly. Times are different now.

As I said I have worked with many different painters over the years. And now I only recommend one painter. If it doesn’t work for the client then they are on their own finding one. The painter I recommend is
Rick Wehrman….I have known him for maybe 20 years. I not only recommend him because he is a great painter, ( his son right along with him, and sometimes his daughter as well), but they are great with customers. They go in and do their job and do it well. For me, it is important to have a good rapport with the painter on the job. It makes my life a lot easier.

I finished up a portion of a large project with Rick and crew. Here is an example of how he makes my life easier.
The client wanted their foyer tray ceiling done. If I did it it would mean bringing in scaffolding, hiring someone to put it up and then take it down again. Rick has done bits of faux finishing for me before so I asked him if he would take it on and he said he would. The faux that was to be done in the tray in the foyer was the same one that I had done in the dining room tray ceiling.

Besides having good work done, the foyer tray ceiling was less costly because Rick uses an extension ladder to do them. Saves a great deal of time as well. The photos in this post show the tray ceiling in progress and then finished. Doesn’t it look great?!

I hope you consider this the next time you are looking for a painter. It could save you heartache and money.

Have a great week!
Doris

“The Chair” Reveal

Remember this chair? This is my Goodwill find. I paid $7.00 for it. Here is what is printed under the seat –

I mentioned in an earlier post about how I was put off by the “gazillion” staples in the blue velvet chair I had come across. I finally caved and decided to tackle it. I loved the process. I love the chair. Of course, there are things I wish I knew before I started. One thing I recommend …….do not try to rush it.

My original plan was to recover it and paint the wood. But seeing as it was going to involve more work anyway, I decided to strip the wood and do a finish on it that I have been wanting to try.The finish is done in layers. This is something I have always found with paint – the wonderful effects you get when you layer paint and glaze and top coats. The first detail photo is one of the wood details. I added a little Warm Silver metallic paint to accent the design.

The arms of the chair have detail too. The design works well with the type of finish I applied.

And……finally…….”the chair” completed –

What do you think? The fabric choice surprised me. I don’t ordinarily lean in this direction, design and color wise. But when I saw this one it just seemed to belong to the chair.

Would I do it again? Right now I say no. But with time passing and if I came across the right piece, who knows? It definitely gave me a new respect for upholsterers.

On another note, I went to the Kane County Flea Market yesterday. Best around in my book. This year I am looking for 2 old screen doors to turn into displays. I will be checking at the Morris Markets as well which run from May to October.

Have a good day everyone!
Doris

A Cute Mother’s Day Craft

I saw this somewhere and I think it would be such a great craft for kids to give their mom for Mother’s Day. I think I originally saw it on Pinterest but have seen it twice more since then.

The supplies you need are few. The sticks you can get at Walmart or a craft store. Also the paint brushes. For the paint I used one color that is actually a wall color, but very fashionable. Or, as shown, the craft paints.

You will also need a couple of drinking glasses or cups.

While you are preparing your work space bring a pan of water to a boil. The pan should be big enough for the sticks to lay in with a little room to spare.

Once the water is boiling put your sticks in it and boil for 15 minutes. Put in a few extra sticks in case some break, although I did’t have a problem.

After 15 minutes take them out one at a time, immediately starting to bend them easily into a “C” shape. Fit them in to the sides of a glass. They cool quickly, so once you take one out of the pan using tongs, you’ll be able to start shaping it right away.

The sticks need to dry overnight. Once dry, they can be painted and personalized.

Voila!
Have a great week!
Doris

Update: the chair is coming along nicely. I have the fabric and this week will be finding the right trim. I heard about a huge fabric and trim warehouse in Chicago that will hopefully have what I need because I haven’t found the right one out here. Field Trip! I may even take pictures and post on it if it’s as good as I was told.

#1 Choice of 3 Wood Strippers

Refinishing furniture is messy and odorous, no two ways about it. But the rewards can be many. The look of wood coming into a new life, maybe taking on a totally different look even.

The chair I had mentioned previously is one that in some ways has gone very smoothly and in others has been challenging. The biggest challenge has been dealing with all the staples in it. It is an Ethan Allen chair I came across at Goodwill for $7.00, therefor the quality is high.

The products used are shown here along with other items you will be using. I also picked up some cheap toothbrushes which really come in handy for crevices. The container you use to pour the product into should be nonporous, a tin can works well.

Two of the products I tried, whereas they worked okay, they were slower at the actual removing of the finish (which I believe to be 2-3 coats of varnish). Only one of them, the Jasco Premium Paint & Epoxy Remover, actually made the finish bubble up, which in the past was the sign of a great wood stripper. The other one, the 2 Minute Remover, worked about the same without the bubbling. They both had strong odors.

Here is a peak at how the wood looked once stripped. I hope to have the chair completed this week and Reveal it in next week’s post.

Maybe here would be a good place to insert the setup of such a project. Number one is have plenty of ventilation. Make sure the flooring of wherever you are working is covered well with some very protective tarps or papers.
Ideally you will have your own space set up for this task. Unfortunately with my physical condition being what it is I wasn’t able to carry the chair to my workroom.

My #1 product choice is ……….Klean Strip Klean Kutter Refinisher!
.

It surprised me really. It is more runny whereas the others were more gel like. The others you brush on, let sit a few minutes, then remove. My choice to remove the finish is steel wool and then old tshirts.

The Klean Strip, however, you apply with the steel wool and start rubbing. It didn’t need a lot of pressure either. I dipped the end of a steel wool pad in the solution being careful of the dripping, I wiped the wood once with the grain, and when I went to wipe again the finish came right off. I was thrilled! So the one I thought I would like the least, actually turned out to be my favorite.

With this project I got a reminder of how much I always enjoyed stripping furniture. Not because of the process by any means, but because of the results. Makes me think of 2 pieces that have been sitting around maybe needing to be refreshed.

It looks to be another good week here in Illinois. Maybe some rain but more badly needed sunshine as well.

Enjoy the day!
Doris

Simply Scroll for more posts!

Knitting and A Freebie!

I mentioned knitting ……it has been a blessing during this time of recuperation. It has literally kept me going when discouragement has taken over.

Right now I just finished a sweater using a wonderful yarn. It is actually my favorite so far. It is thick and thin as you can see and has great color to it.

The sweater pattern and yarn I picked up at a yarn shop in Decorah, IA when I visited my sister who lives there. A lovely shop which I will visit again and take pictures. They have an online presence as well. The pattern is for Intermediate knitters but I think any adventurous Beginner could handle it. I adjusted the sleeve and the neckline a little.

I attempted a sweater early on and it was a bit overwhelming. I was determined to get back to it once I had more knitting under my belt.

The first sweater that I completed is actually a summer shell. It is made up of a variety of lace stitches. It was a lot easier than I expected and seemed to go quickly due to changing stitches often. It’s made of 100% cotton yarn.

Designing a winter cowl was my first pattern making venture.

The next item was fingerless gloves using a favorite cable stitch.

And the most recent design is for the warmer months. It is called Airy Denim Scarf and is made from 100% recycled blue jean yarn. Upcycling!

These patterns are for sale in my Etsy shop etsy.com/shop/dcartwork on ravelry.com and craftsy.com. By the way, the patterns were tested and approved on Ravelry

FREEBIE:
If you choose to follow my blog you can choose any one of these patterns for free. They are in pdf format. You can email me at dorisdjrdc@aol.com

Knitting will undoubtably be mentioned here again.

Have a good week!
Doris

Elves

Need a special hostess gift? Want to dress up your counter or bar? Or do you just feel like doing a fun craft project?

Can’t tell you how many of these sold at shows this holiday season. Crazy! But they are cute. And easy and fun to make. And, of course, the thought of a bunch of little elves running around the place made me smile. 🙂

And, they are what they say, “easy peasy”.
elvesetc 060
elvesetc 059

You can easily make a pattern for them from looking at the picture. A long triangle and then the little piece for the beard. And you can adjust the beard piece to your liking.

You will need old sweaters, I got mine from Goodwill. Wash and shrink them. Wool ones really do work best but if you are short on wool ones like I was, then an acrylic one will work

You will also need the fur for the beard. There is an assortment of fur available at JoAnnes Crafts and Fabrics store. Small sized metallic fur balls can be found at Michaels and the little wooden plugs may be found at your local hardware store, Menards, or Home depot.
elvesetc 057

Assembly is easy. Take a beard and center it on the straight end of the hat on the wrong side. Zigzag across the entire edge..
elvesetc 058

Next, sew together the long sides creating a point. Now this is where I thought it might be a pain but wasn’t. You turn it inside out. I thought it might be a little difficult because it is such a small point, but I guess beacause of the stretchy material it turned quite easily.
elvesetc 062

Using a glue gun, I attached the wooden plug right below the hat centering it on the beard. And I also used a glue gun to fasten the metallic fur ball to the point of the hat.
elvesetc 063
Voila! You have your elf!

Ornaments and Trimming Beards

So what do ornaments and trimming beards have in common? Well, the main thing is that they are items that I am creating for a Holiday Market in Naperville put on by Room 363. Indeed it is that time of year. And, shamefully, I am one of the few people glad to see the Christmas items on display in stores. Terrible, right? You see that preparing for a holiday show does not happen overnight. And I had a few ideas in mind but it involved using some Christmas themed items that were not readily available. For instance there is a certain color green tissue paper that I wanted to use for ornaments. I looked everywhere I could think of that sold giftwrapping. Then about the time I was about to forget that particular color I went into JoAnne Fabrics. They had put out a fair amount of Christmas decor and lo and behold there was just what I was looking for! With a sigh of relief I knew then that I would indeed be able to complete what I had just begun, and with time to spare.

elveschuckstephencharlie 003

The elves are what I call Wine Elves. They are a nice little touch when taking a gift of wine for the hostess of the get together that you are going to for the holidays. It just slips onto the top of the bottle. Dresses it up a little doesn’t it?

craftitems 021

I really enjoyed working on the ornaments. I’m including some photos of them during the process. Easy enough to do, although a little messy with the glitter and all.

craftitems 015

Using styrofoam balls (I used the larger ones), loosen up Elmer’s glue with a little water and “glue” on about 3″ torn sheets of a tissue paper that you want to use. I used 3 colors.

craftitems 014

craftitems 016

Let dry. A good way to do this is to poke screws through foamcore and then press the balls onto the screws like in the photos.

When dry brush on a thin coat of the glue mixture and then sprinkle with crystal glitter. Let dry again. This is the messy part…..I try to brush off as much loose glitter as possible at this point.

Using about a 5/8 ribbon wrap it around the ornament twice and tie a standard bow. (This can be a little tricky depending on the ribbon you used.) Next I hot glued some little gold berries to the top. You could use acorns for a nature feeel.
craftitems 017

Voila!
craftitems 011

craftitems 012
craftitems 013

Like I said, it is a little messy, but this could make a nice little gift couldn’t it? Or maybe you would just like it to dress up your own tree.

Enjoy your day! ( I’ve been battling a really bad cold this week and looking for some relief!)
Doris

Transferring A Favorite Photo

Hello there!

In my last post on transferring images I said that I would show how to do a standard photograph. Well, I decided to do one of a favorite photo that I have and wasn’t quite sure how I wanted to display it. This is a perfect opportunity to use the transfer process.
stephenchuckcharlie

Basically you need the same materials as for a painted image. That would be a photocopy of the photo that you want to transfer, gel medium, a preferred canvas, and a sponge.
elveschuckstephencharlie 005

Apply the gel evenly to the canvas and lay the copy over it with the image side down. I chose an 8×10 canvas and simply printed a copy of the image off my home printer. If you go to a printer do get your copy, do not use photo paper for this process, use regular photocopy paper. My printer had reassured me that their photo paper was used regularly when customers wanted to transfer images. So I went ahead and used their paper for an order. Wrong. I couldn’t figure out what I was doing wrong so I googled it. What my printer was calling transferring is very different from what I was wanting to do. What they were saying was transferring was in reality attaching a photo, face side up and it is simply “glued” on. That is not what this is about. The reason I settled on their paper was because of the size of the image my customer wanted to use. It was 20×24 and the printer can’t make copies on regular photocopy paper on something that large. Just a heads up to you. If you ever have any questions about it don’t hesitate to ask.
elveschuckstephencharlie 006
I decided to crackle the sides instead of putting a standard frame on it. I based it with a medium brown (I used PPG Earthy Ochre, but any medium brown will work), used a crackle medium over this (I only needed a little so I used Martha Stewart’s Crackle Medium), and then painted it with an offwhite called French White, which is a BJM color.

elveschuckstephencharlie 007

By the way this makes for great Christmas gifts. A real personal touch to gift giving.

I’m, not sure if I mentioned this in the last post, but when you transfer an image in this manner it will be a reverse of what it shows in the original photo.

So have fun with it and maybe someone you know will receive that personalized gift this holiday season.
Have a great day!
Doris

Transferring Photos Onto Canvas

A good DIY project here. Not difficult one bit. It does require some patience, or so it seems to me.

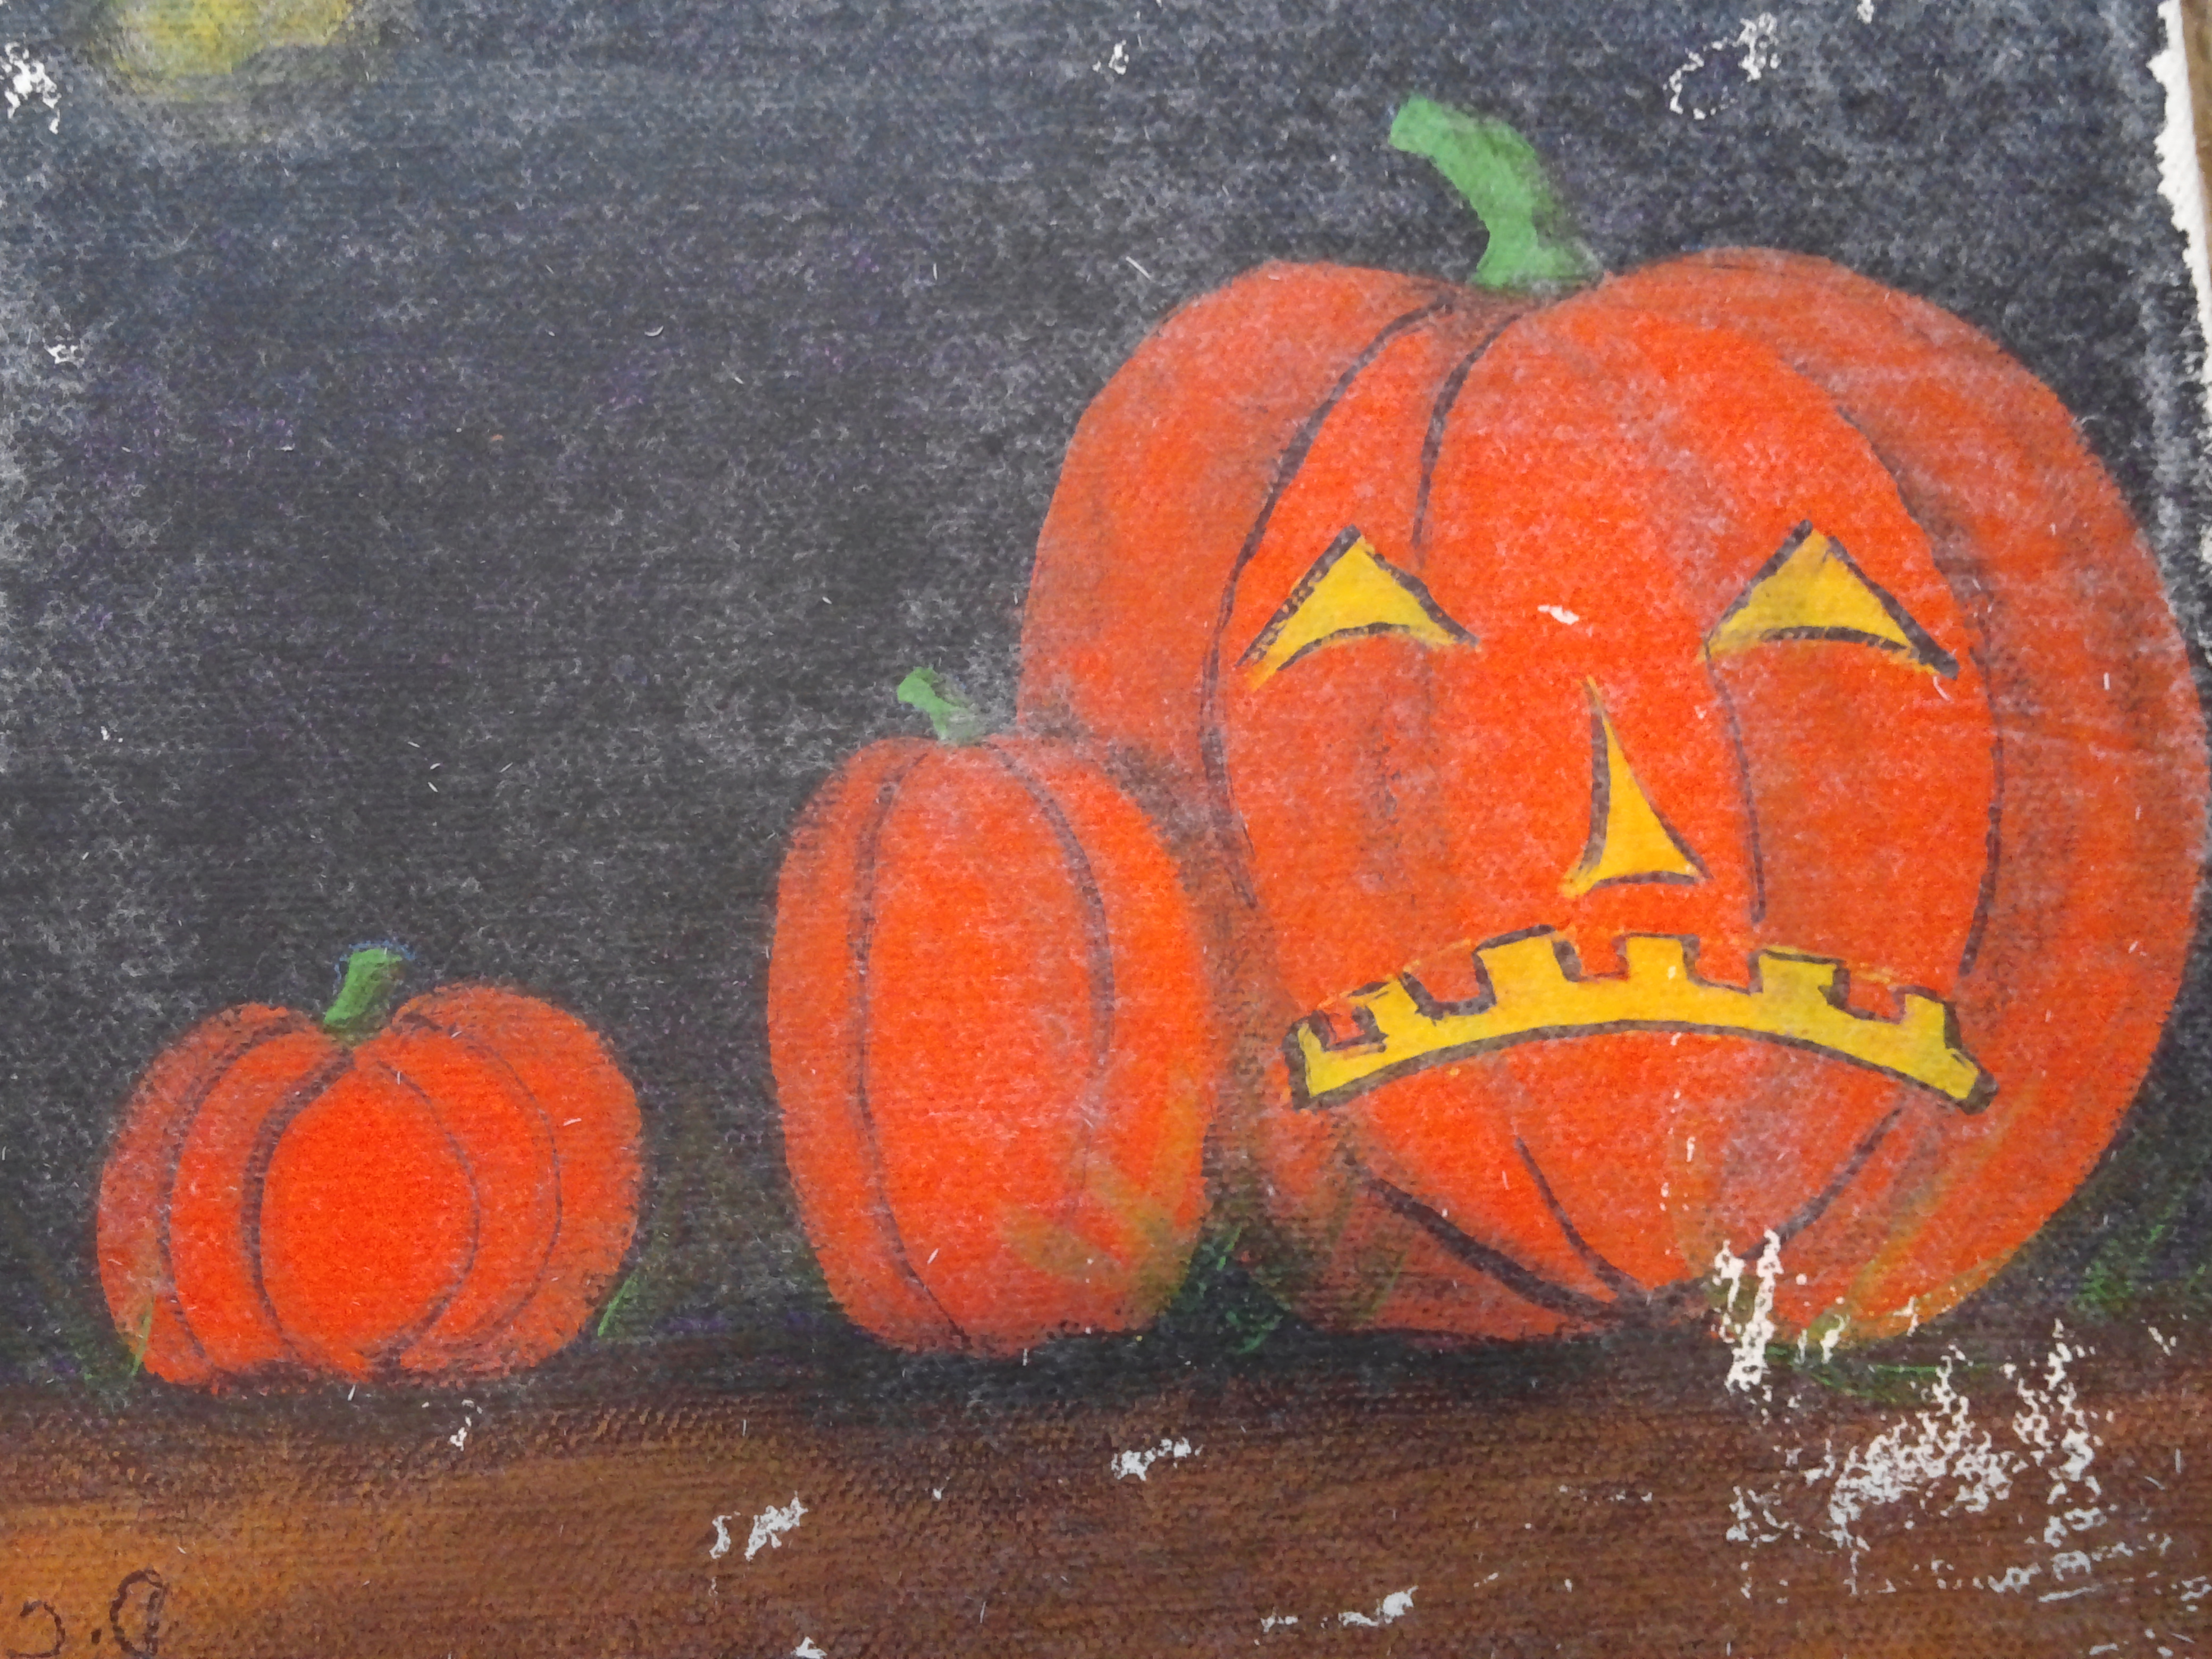
I have done these in the past of reduced photos of my floral paintings. People seem to like them so I thought I would attempt it for Halloween.
https://www.etsy.com/listing/205046384/halloween-decor-original-handpainted?ref=shop_home_active_10

You will need:

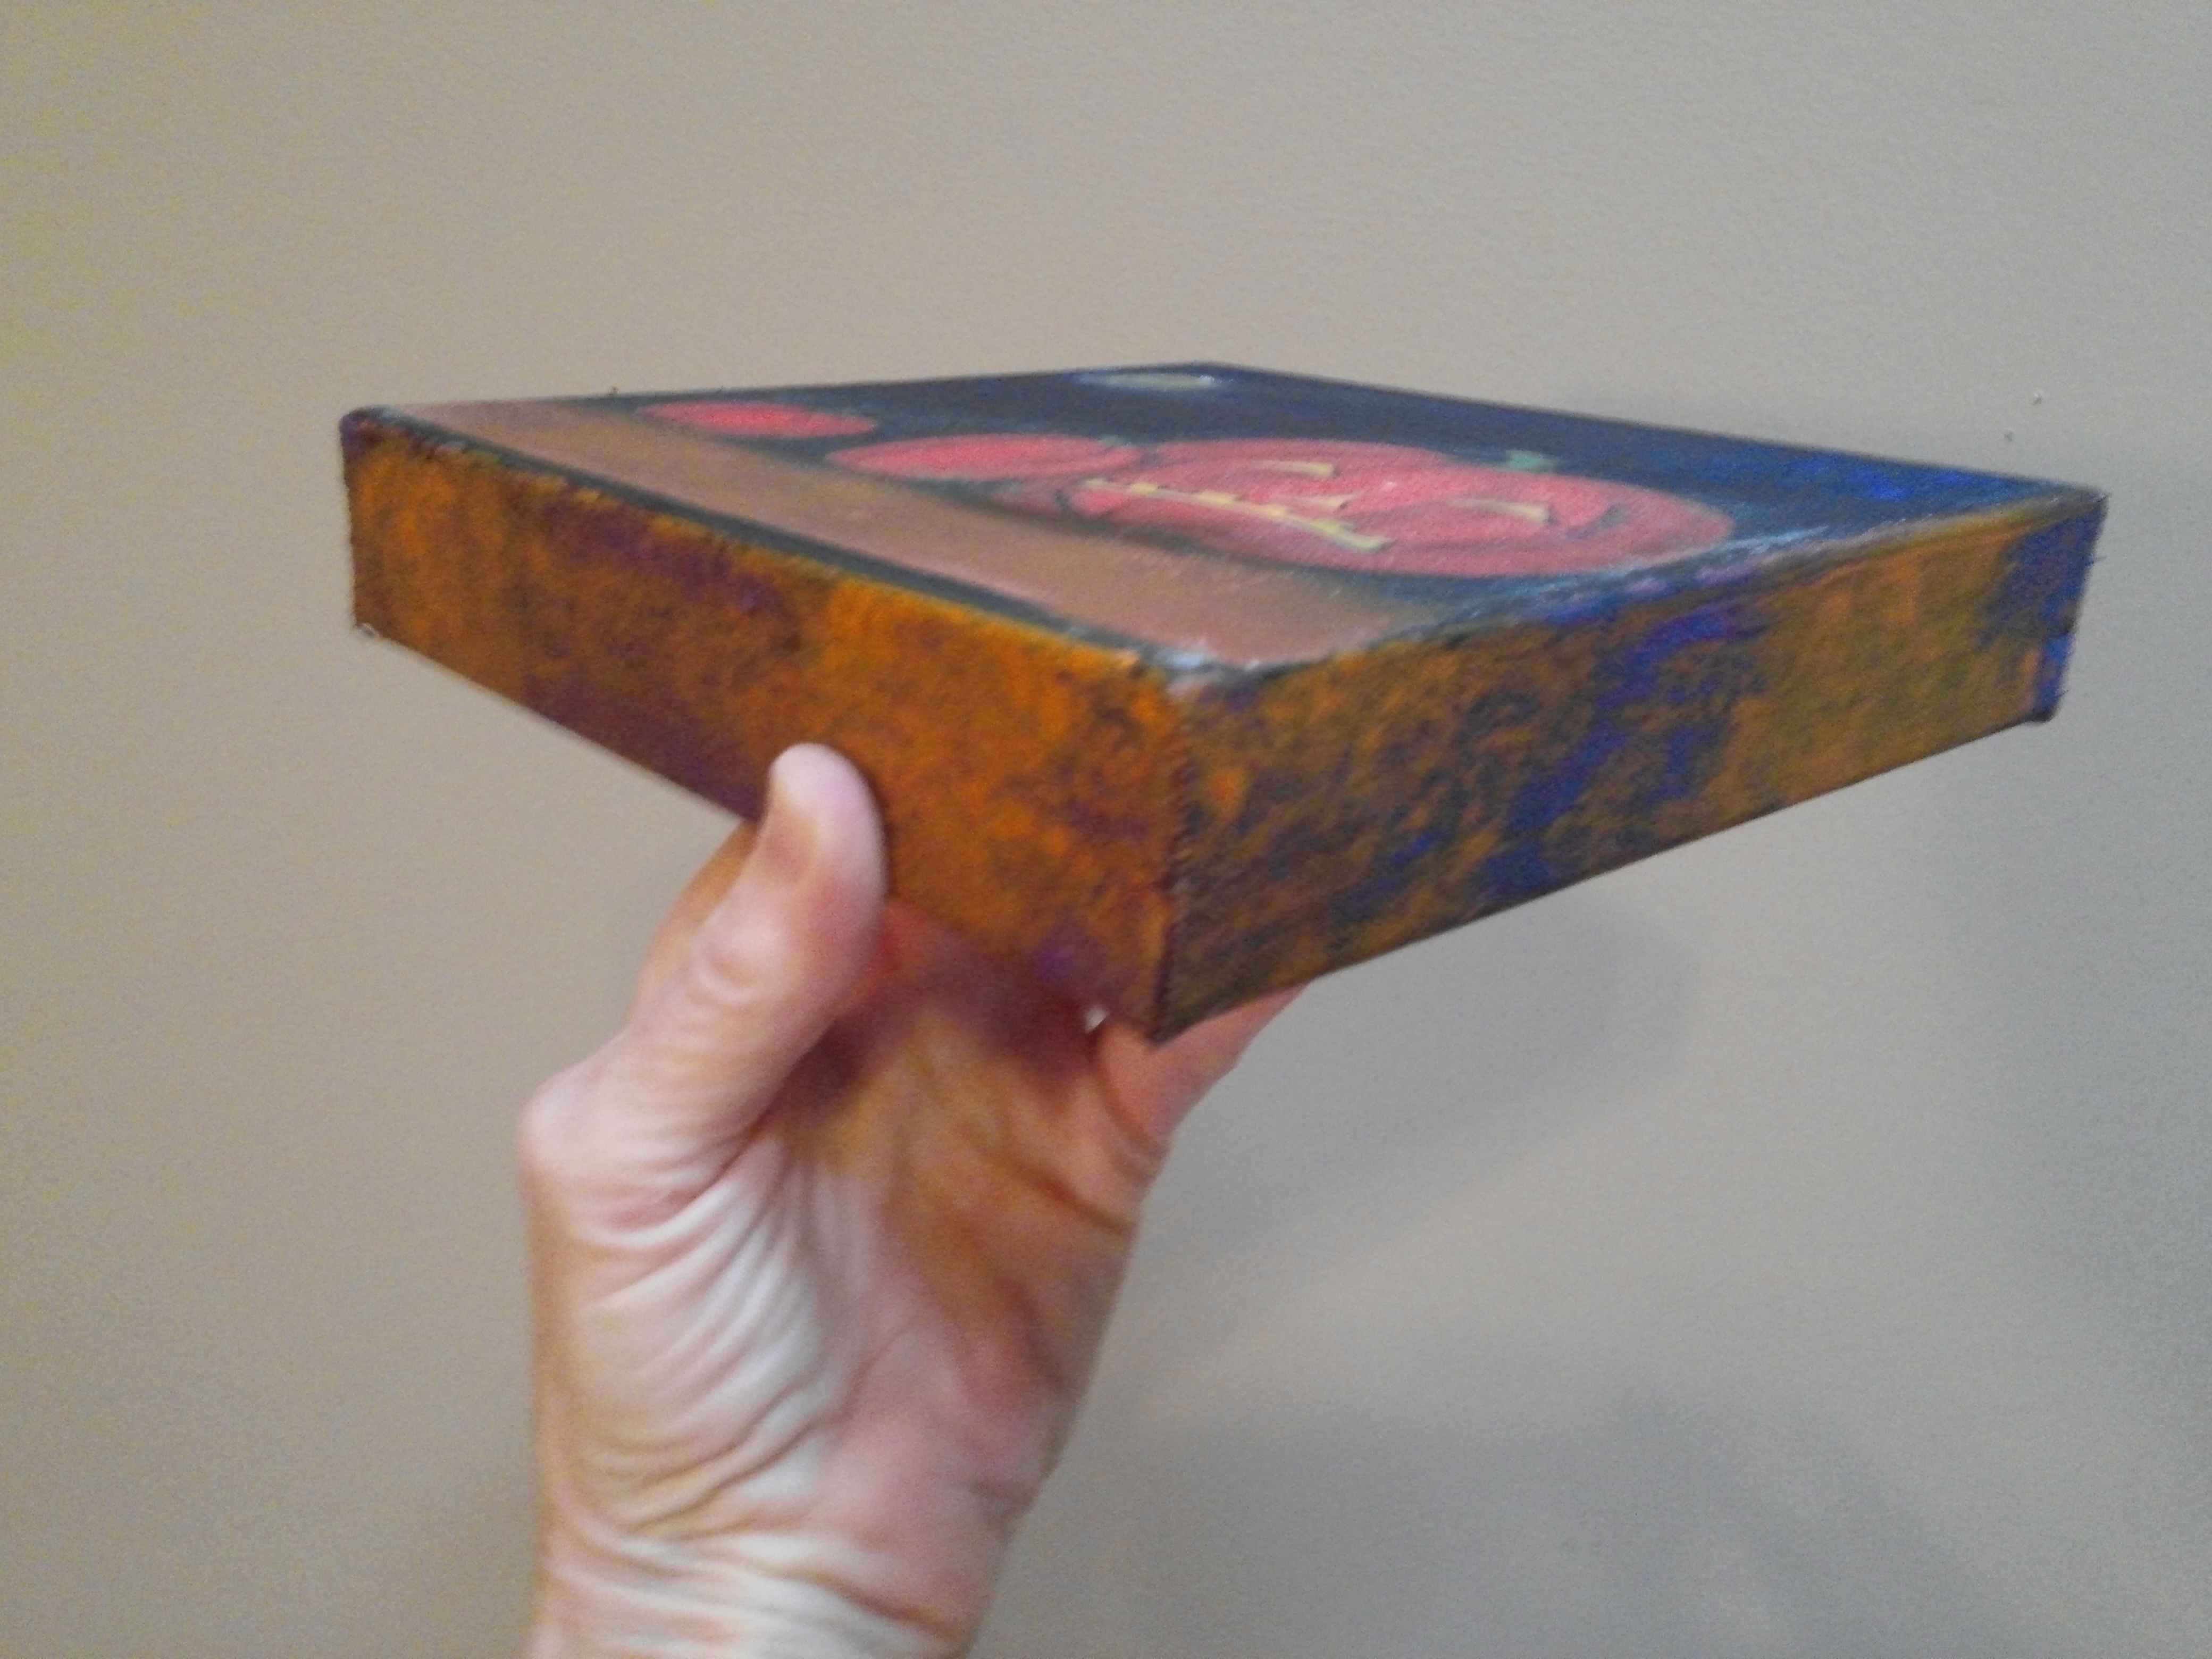
A canvas (I would start off with a manageable size, I used 8×8 for these)
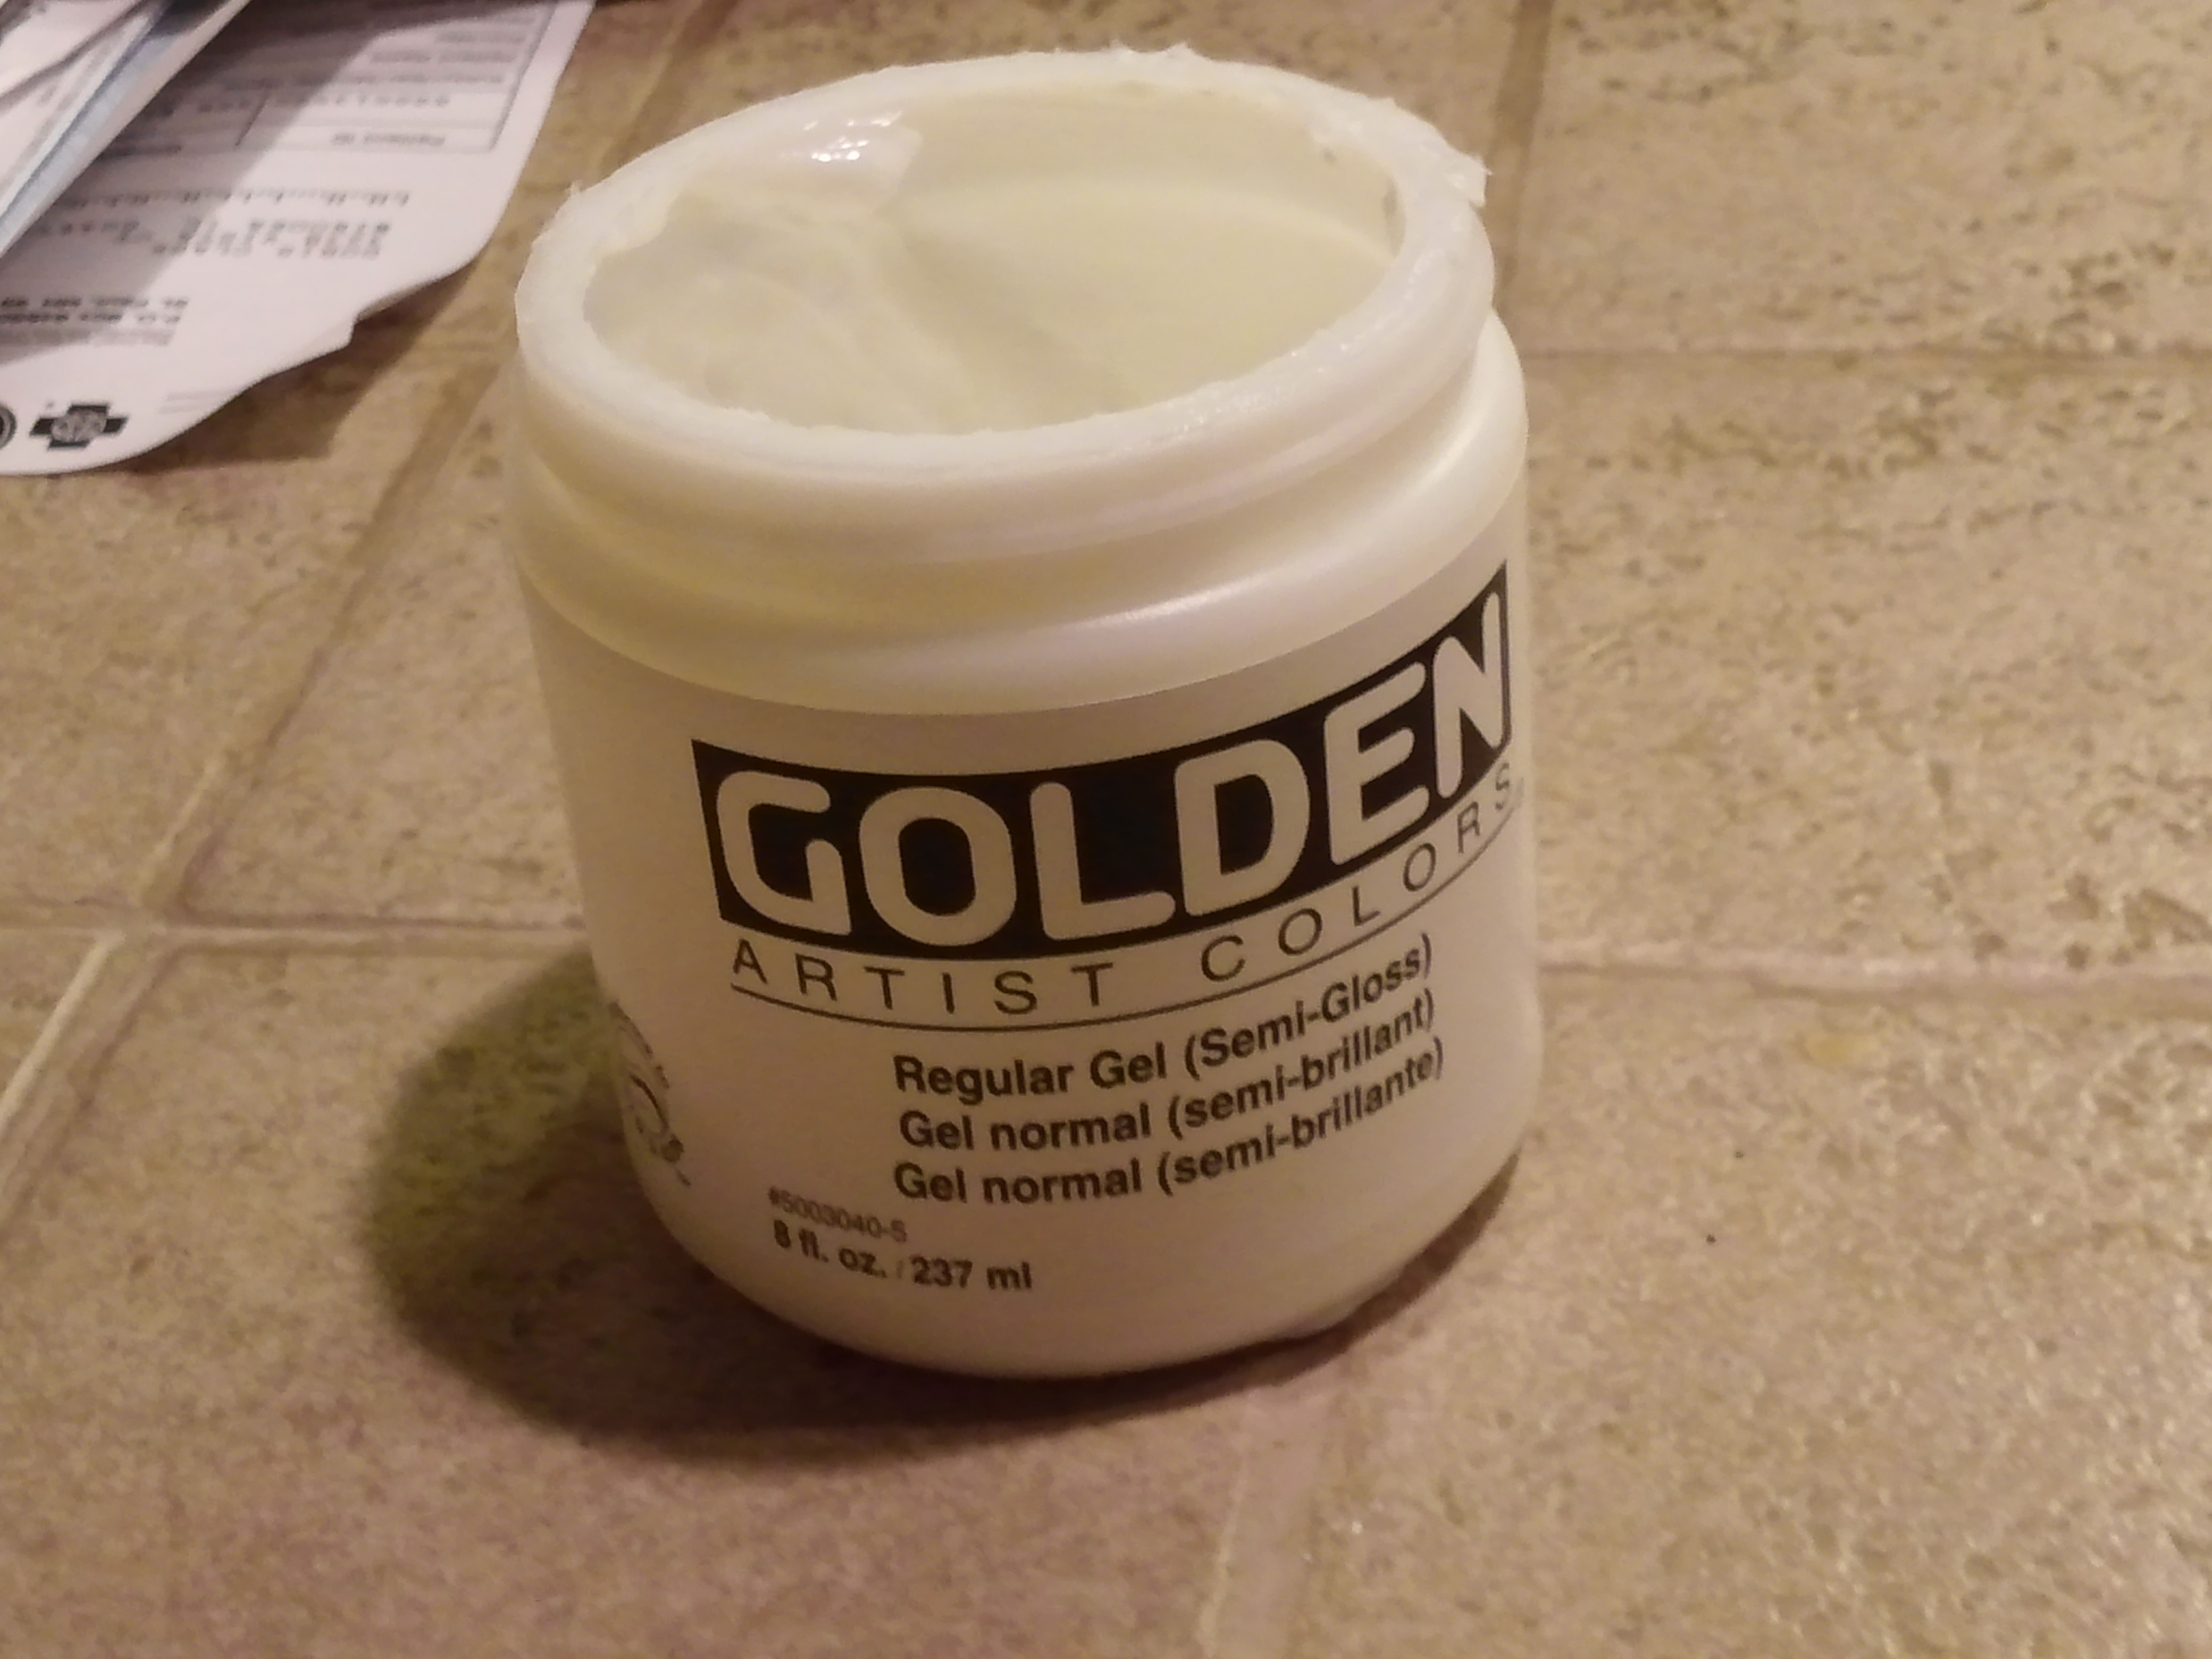
Gel medium (I recommend getting a better quality, it will be worth the extra cost)
transfershalloweenshow 010
A paint brush to apply the gel.
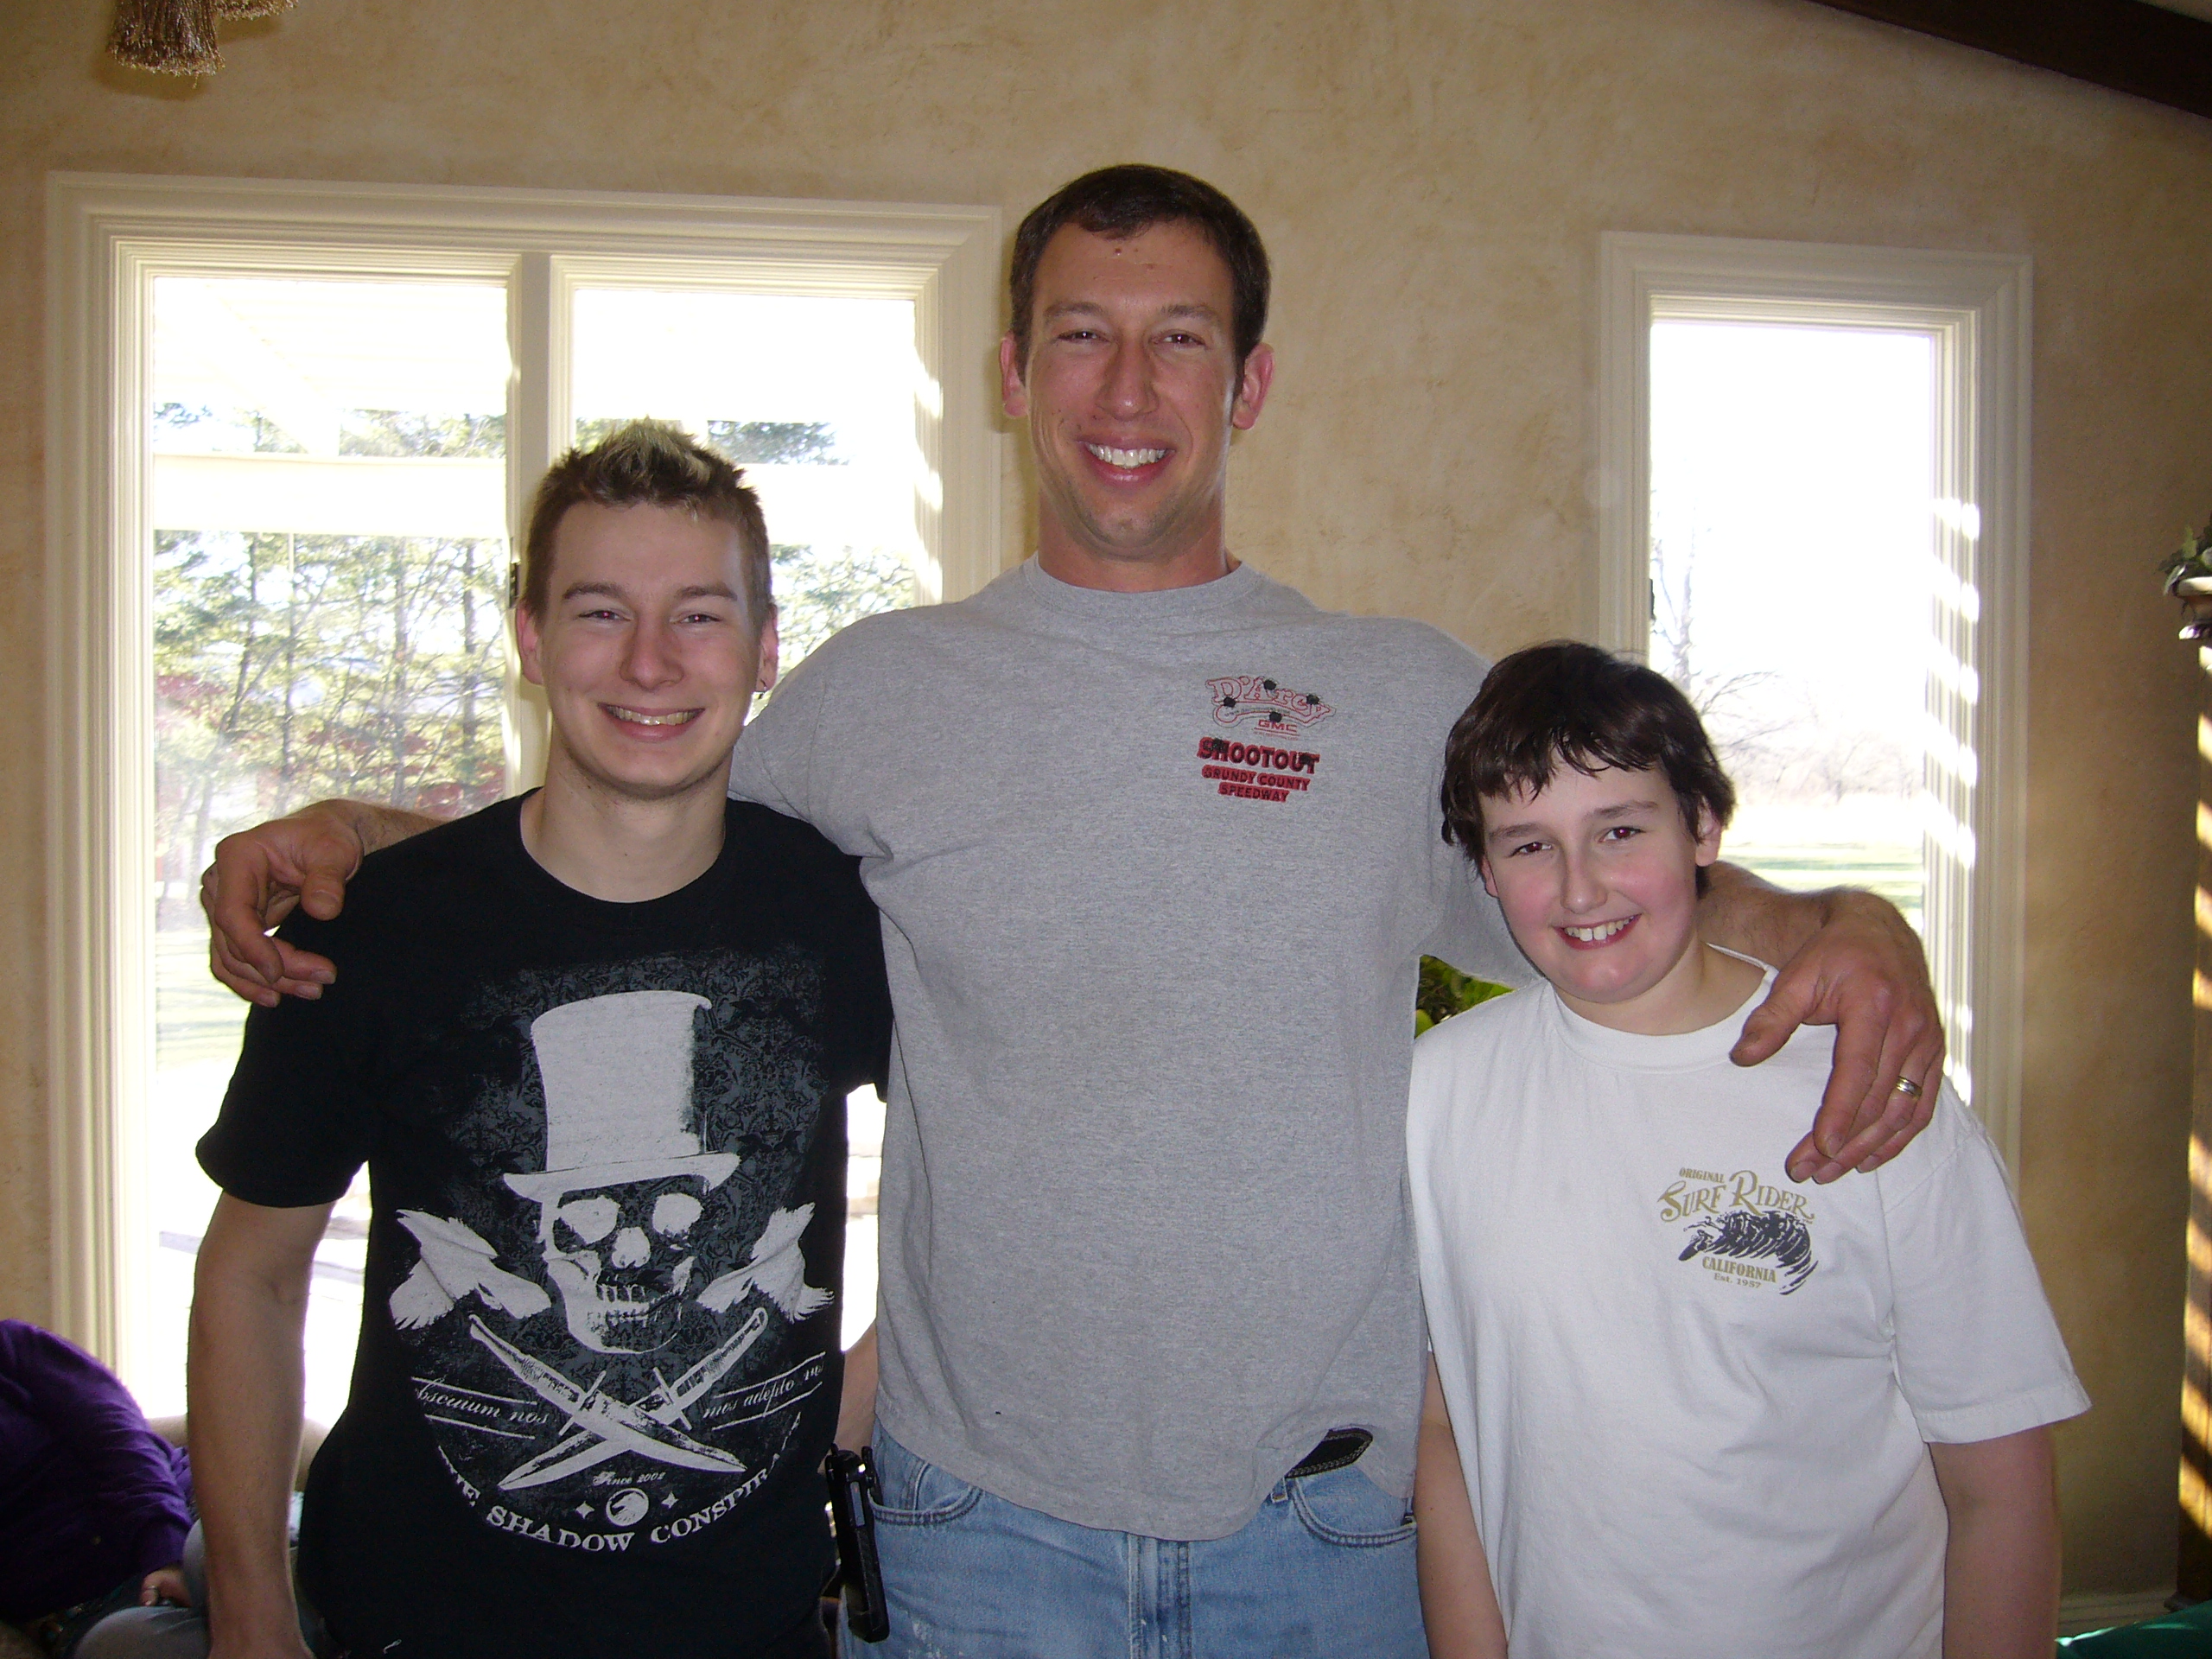
A photo of what you want to transfer.
transfershalloweenshow 013

First off, make yourself a good photocopy of the piece you want to transfer. I prefer to go to Staples and get a good quality copy from their copiers. Lay it face side down over the chosen canvas so that you can line up the picture correctly. I crease the sides a little so as to lay it on the gel easier.
transfershalloweenshow 009

Liberally apply the gel medium to the blank canvas making sure to fill in all the little valleys. Smooth it out so that there won’t be any air pockets created. Make sure you put enough of the gel on, about 1/8 inch thick or a little more. It does make a difference.

Position the photocopy face down onto the gel, adjusting it to sit in the position that you want. You can slide it around a little with no harm done so no worries there.

Smooth it out for several minutes with your fingertips. I find that it adheres much better if I take the time to smooth it out for a few minutes. Once it is adjusted and smoothed down set it aside overnight. It needs to dry thoroughly before you move on to the next step.
transfershalloweenshow 015

transfershalloweenshow 008

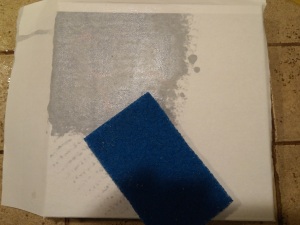
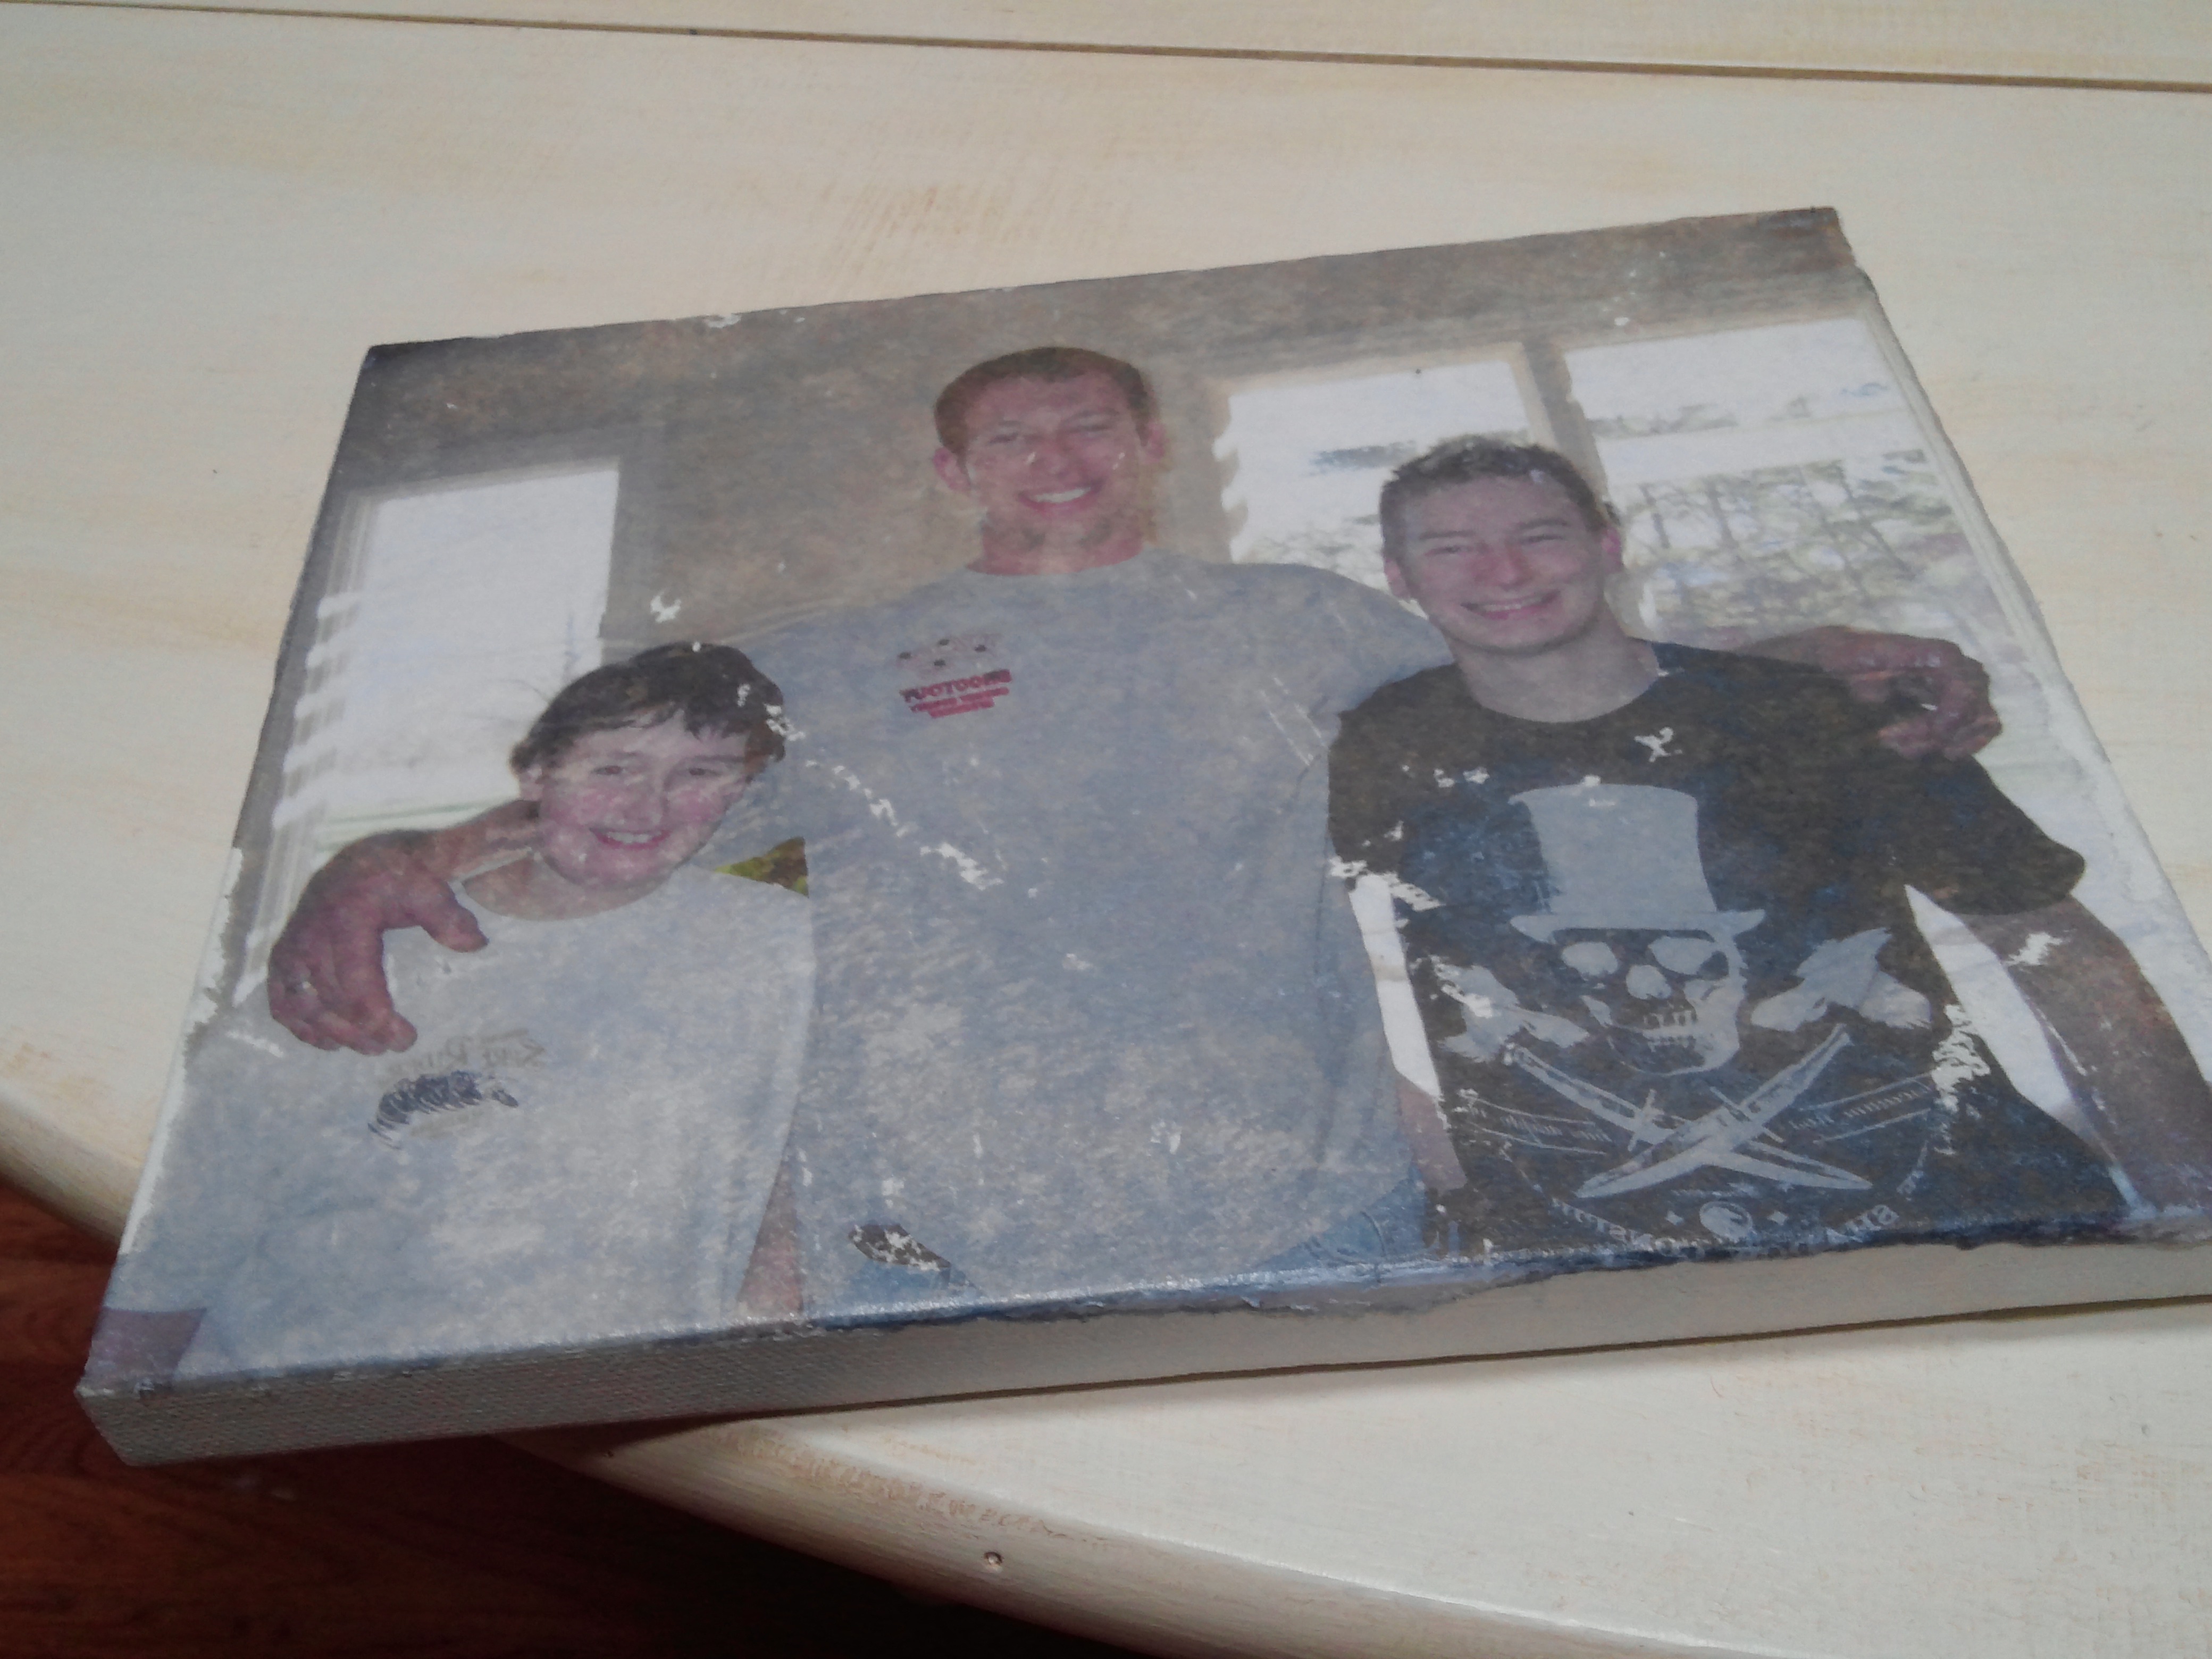
Once dry you can peel off the paper and the transfer will appear. You will need to do this step a few times. Most directions say 1-3 times. I found I had to do at least 5 times. it’s no big deal really, you just want to keep this is mind. The way to start removing the paper is to use a damp sponge and blot the moisture onto the canvas. You can tell by the picture that it will look significantly different.

transfershalloweenshow 012

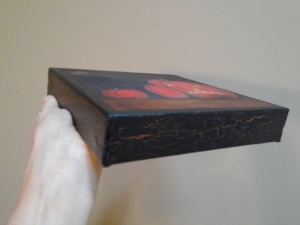
Once all of the paper is removed you can finish the canvas off. with the Halloween ones I crackled the sides with an orange and purple base and black over it. For the transfers of my paintings I gallery wrapped the image. By that I mean that I made the photocopy large enough that it wrapped around the sides.
transfershalloweenshow 023
transfershalloweenshow 025
transfershalloweenshow 024

So what are my overall thoughts on the process?

I truly love the concept. And I will be making more of transfers of my canvases. My Halloween ones? Well, to be honest, with the amount of time that I put into thransfering the images I could have painted them on alot more quickly. A little disappointing? Yes. Will it keep me from using the process again? Not one bit. Here are pictures of my floral canvases done up as transfers. Love them.
https://www.etsy.com/listing/126583734/original-wall-decor-8×8-painting-set-of?ref=shop_home_active_15

And I do plan on using this to transfer a photo that I would like to make look old and beat up. I will post on that as soon as I get it done. Is it worth the effort and do I recommend it? Absolutely. I do if you are wanting to transfer something as a gift, or if the original is timeconsuming , such as my oil paintings, or, like I said, if you are wanting to age and distress an old photo.

So, if you are at all crafty you can handle this one. Even if you’re not a real creative type. It would make for a great handmade Christmas gift. Very unique.

Hope you are enjoying the season!
Doris